Turn AI Image Tools Into Client Work
A practical workflow for using AI image tools to create client-ready visual drafts and revisions.
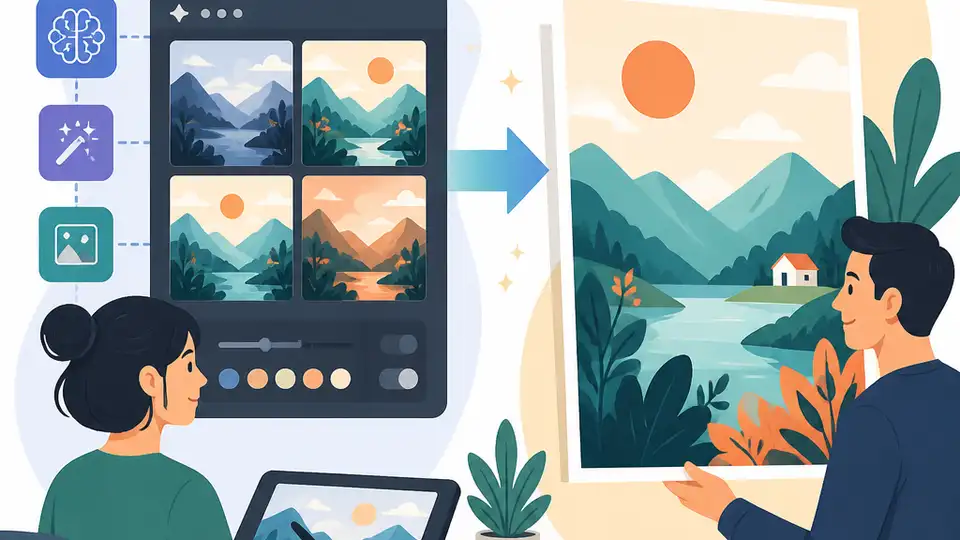
Many people can generate pretty AI images, but they struggle to turn them into work a client will actually buy. The gap is usually process, not talent.
This guide shows a simple workflow for making client-ready AI image drafts and revisions.
Before you start
Get the latest AI news in your inbox
Weekly picks of model releases, tools, and deep dives — no spam, unsubscribe anytime.
No spam. Unsubscribe at any time.
- An account for Midjourney
- An account for Jiemeng or another image generation tool
- A local install of Stable Diffusion WebUI or access to a hosted Stable Diffusion service
- A folder with 10 to 20 sample client references
- Basic image editing software such as Photoshop, Photopea, or Affinity Photo
Step 1: Pick a narrow service offer
Your goal is to sell one clear outcome, not “AI art” in general. A narrow offer makes it easier to explain value, price the work, and repeat the process.
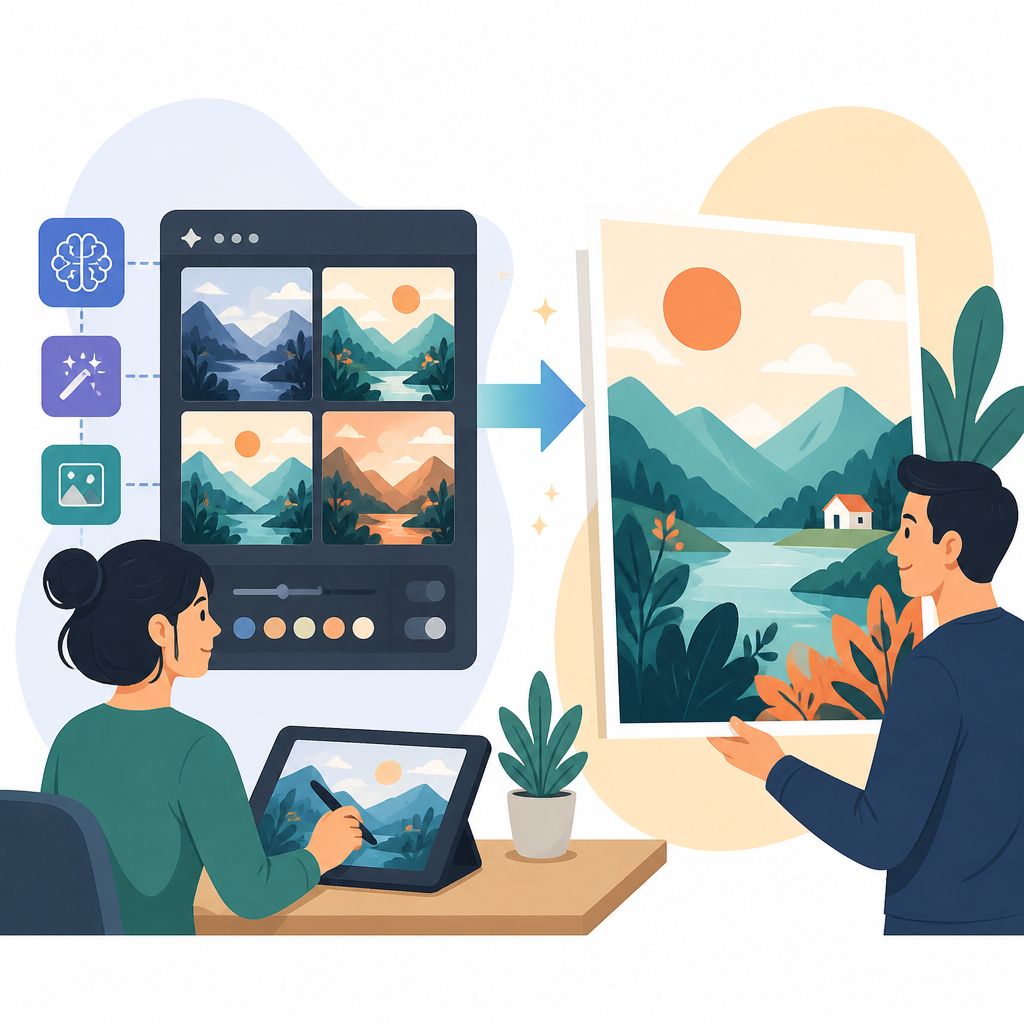
Choose one service such as pet portraits, social media illustrations, product concept art, or poster-style fan art. Write a one-line promise like “I turn a pet photo into a stylized illustration with two revision rounds.”
When you can describe the service in one sentence, you should be able to tell a client exactly what they will receive and what they need to send you.
Step 2: Gather reference images and style cues
Your goal is to build a prompt base that matches the client’s subject and the visual mood they want. Good references reduce random output and make revisions easier.
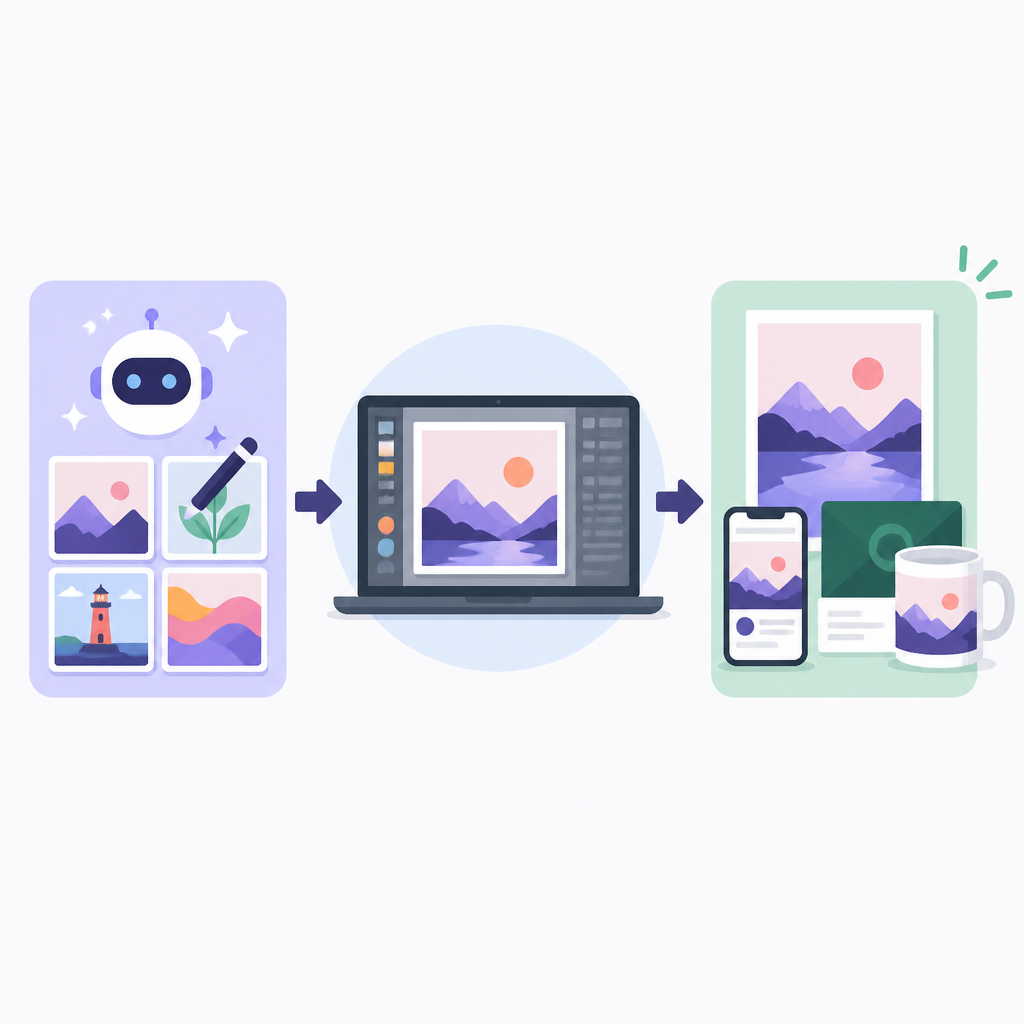
Collect one subject image, one style image, and one background reference. If the client wants a specific look, note details such as lighting, color palette, camera angle, and line quality.
After this step, you should have a small reference set that clearly answers three questions: what is the subject, what is the style, and what is the setting.
Step 3: Generate four draft variations
Your goal is to give the client choices fast, before spending time on polishing the wrong direction. Four drafts are usually enough to show range without creating decision fatigue.
Preserve this cat's expression and fur color, turn it into a Ghibli-style animation, warm afternoon living room background, soft light, four variations, clean compositionRun the prompt in Midjourney, Jiemeng, or Stable Diffusion. Make small changes between versions, such as background, framing, or lighting, so the set feels different but still on brief.
When this step works, you should see four distinct drafts that share the same subject and style but offer different presentation choices.
Step 4: Refine the chosen draft
Your goal is to move from a promising image to a deliverable. This is where you fix anatomy, remove artifacts, and align the image with the client’s feedback.
Ask the client to pick one draft, then revise only the requested parts. Use inpainting, prompt adjustments, or manual editing to improve details like hands, eyes, text, edges, and background clutter.
You are done with this step when the image looks consistent, the subject is recognizable, and the remaining flaws are minor enough that a non-designer client would accept them.
Step 5: Package and deliver the final files
Your goal is to make the handoff feel professional and easy to reuse. Clean delivery helps clients trust the process and makes repeat orders more likely.
Export the final image in the size the client needs, plus one backup version in a common format such as PNG or JPG. Include a short note that explains what was revised and how they can request another round later.
After delivery, you should have a final file set, a revision record, and a reusable template for the next client.
| Metric | Before/Baseline | After/Result |
|---|---|---|
| Draft count shown to client | 1 rough image | 4 selectable variations |
| Revision workflow | Open-ended edits | Targeted edits on one chosen draft |
| Delivery format | Single unprepared file | Final export plus backup file |
Common mistakes
- Using one vague prompt for every job. Fix: build a prompt template with separate fields for subject, style, background, and output size.
- Showing only one image to the client. Fix: generate four drafts so the client can choose a direction before you refine.
- Skipping revision notes. Fix: write down every client request and confirm what changed before final delivery.
What's next
Once this workflow is working, expand into adjacent offers such as social posts, ad creatives, or character art, then build a simple portfolio page and a repeatable intake form for faster client onboarding.
// Related Articles
- [IND]
Rust should treat enums as a first-class database primitive
- [IND]
DeepSeek V4 Flash Is Repricing the Post-Coding-Plan Era
- [IND]
Cloudflare’s AI search pilot is the stock catalyst now
- [IND]
AI Weekly: 2026-07-27 ~ 2026-08-03
- [IND]
Kimi K3 maps the new rules of test-time scaling
- [IND]
What the SALP liquidation reveals about AI trades