Layer 2 Blockchain Development Setup Guide
Build a Layer 2 rollup stack with security, bridges, and fee controls.
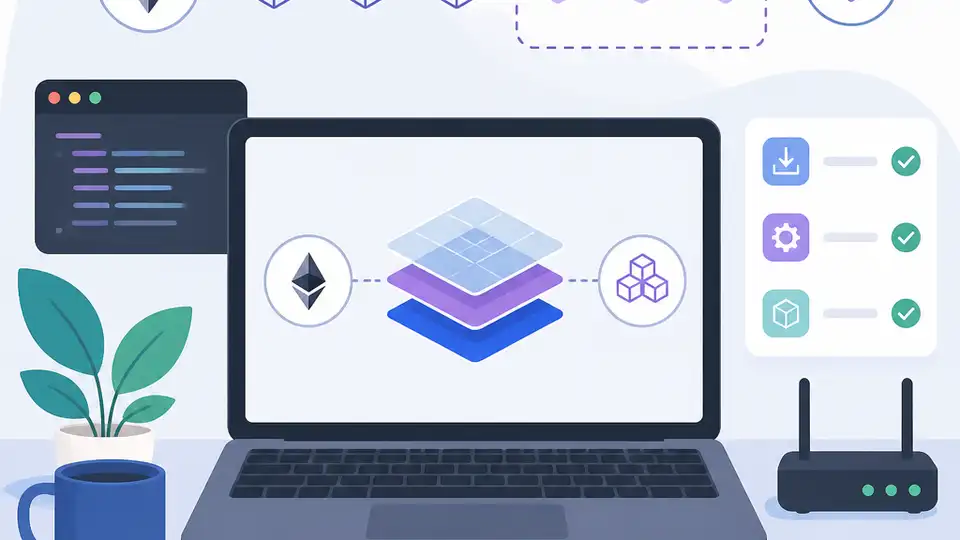
Teams hit Layer 1 limits when trading, minting, or gaming traffic turns every transaction into a cost decision. This guide helps you plan and build a Layer 2 stack that keeps settlement security while lowering fees.
This guide shows how to plan and build a Layer 2 rollup stack.
Before you start
Get the latest AI news in your inbox
Weekly picks of model releases, tools, and deep dives — no spam, unsubscribe anytime.
No spam. Unsubscribe at any time.
- Ethereum wallet with testnet funds, such as MetaMask.
- Node.js 20+ and npm 10+.
- Docker 24+ for local services.
- Access to an Ethereum RPC provider such as Alchemy or Infura.
- GitHub account and a repo for your rollup code.
- Familiarity with Solidity, EVM execution, and JSON-RPC.
- Optional: zk proving stack or optimistic fraud-proof tooling, depending on your design.
Step 1: Define the rollup target
Your first outcome is a clear Layer 2 design brief that states what you are scaling, what must stay secure, and what users should experience. Decide whether your app needs optimistic withdrawals, zero-knowledge finality, or EVM-equivalent compatibility.
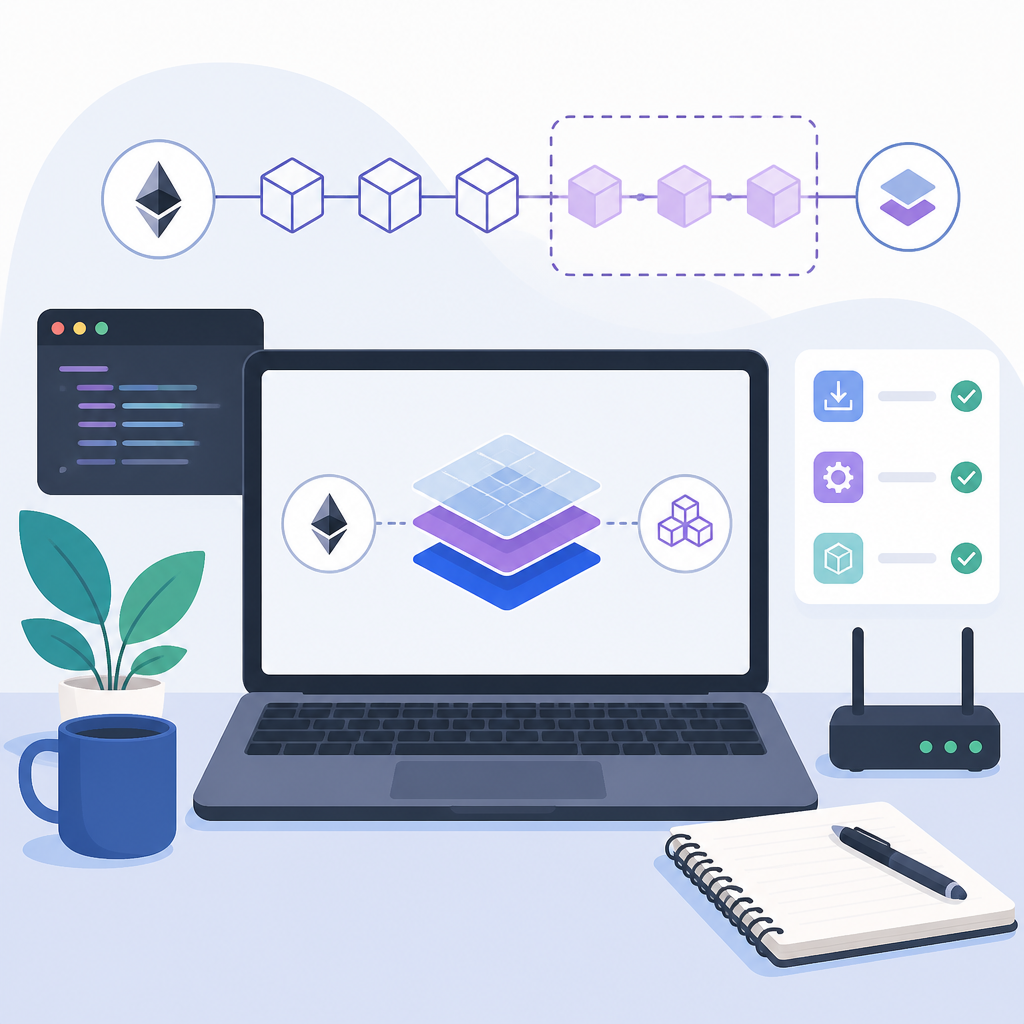
Document throughput goals, target fee range, settlement assumptions, and bridge trust model. If you are building a marketplace or game, write down peak transaction bursts and acceptable confirmation time.
You should see a one-page architecture note that names the rollup type, data-availability choice, and success metrics.
Step 2: Set up the local execution stack
Your second outcome is a working developer environment that can run contracts, a sequencer, and supporting services locally. Start with a clean repo and install the tooling your team will use every day.
mkdir layer2-rollup && cd layer2-rollup
npm init -y
npm install --save-dev hardhat ethers dotenv
npx hardhat
Add Docker Compose for local nodes, a test database, and any proof service your design requires. Keep the chain ID, RPC URLs, and deployment keys in environment variables.
You should see Hardhat boot successfully and a local project structure with contracts, scripts, and test folders.
Step 3: Implement the core rollup contract
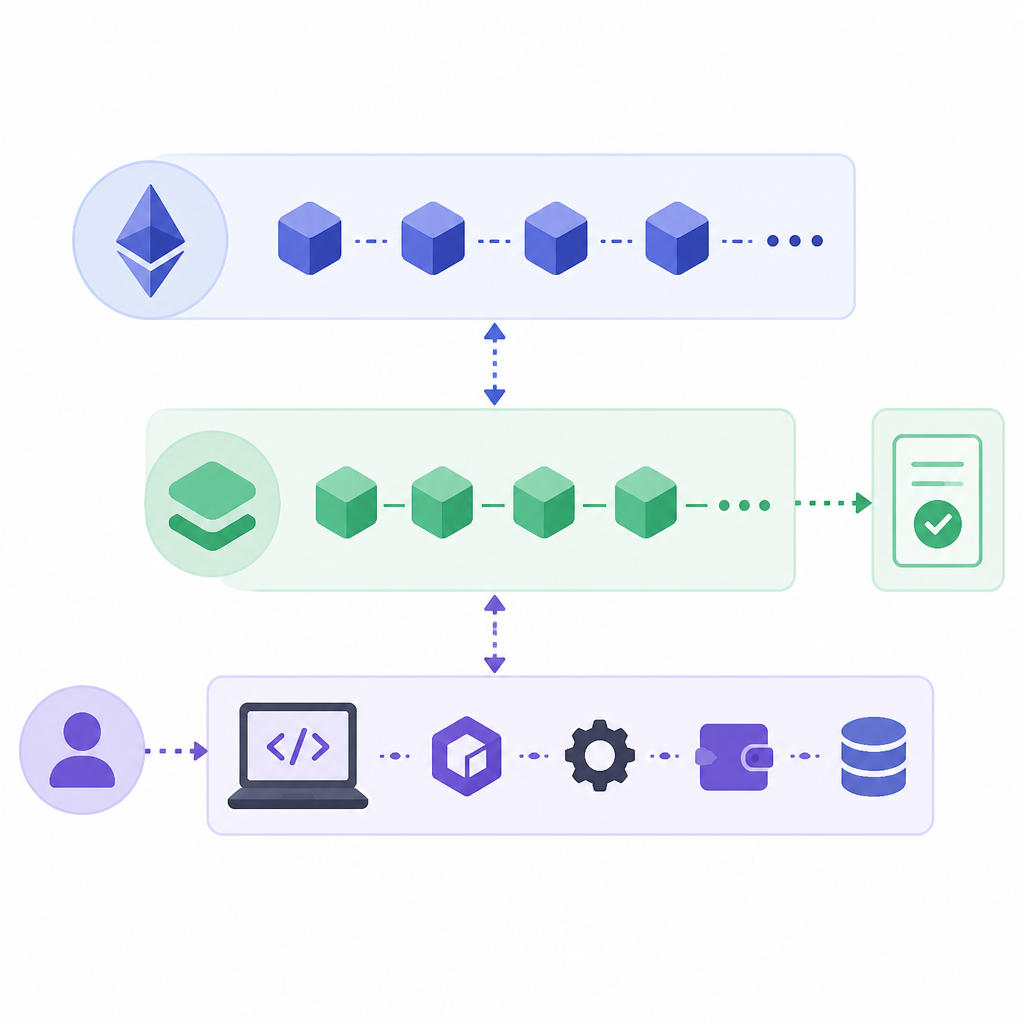
Your third outcome is a base contract set that can accept state updates and anchor them to Layer 1. The exact logic depends on your rollup model, but the contract should expose deposit, withdrawal, and verification paths.
Use Solidity interfaces for the bridge and verifier, then connect them to your app state machine. If you are using an optimistic design, include challenge-period logic; if you are using zk, wire in proof verification.
You should see a deployable contract suite that compiles without warnings and passes unit tests for deposits and state transitions.
Step 4: Connect the sequencer and data layer
Your fourth outcome is a transaction pipeline that orders user activity and publishes the right data to the base chain or a data-availability layer. This is where fee efficiency and censorship resistance start to matter.
Implement transaction intake, block assembly, batch submission, and retry logic. Add monitoring for backlog growth, failed batches, and delayed inclusion so operators can react before users feel pain.
You should see blocks produced locally, batches posted on schedule, and a dashboard showing stable queue depth.
Step 5: Build bridge, fee, and safety controls
Your fifth outcome is a production-ready user path for moving assets in and out without creating hidden trust assumptions. Add canonical bridge flows, withdrawal status views, and fee logic that can survive real usage.
Model gas costs, sequencer revenue, and withdrawal timing before launch. Then add alerting for proof failures, bridge pauses, and abnormal fee spikes so the system can fail safely.
You should see successful deposit and withdrawal tests, plus fee estimates that match your target business model.
Step 6: Run testnet validation and launch
Your sixth outcome is a testnet release that proves the system works under load before mainnet capital is at risk. Run load tests, adversarial tests, and upgrade rehearsals against the full stack.
Test wallet compatibility, explorer support, RPC stability, and contract migration paths. When the system survives your expected traffic and failure cases, move to a staged mainnet rollout.
You should see repeatable testnet deployments, verified blocks, and user flows that complete without manual intervention.
| Metric | Before/Baseline | After/Result |
|---|---|---|
| Transaction cost | Layer 1 fees at market rate | Lower fees by orders of magnitude on Layer 2 |
| Settlement security | Direct base-chain execution only | Base-chain anchored rollup security |
| Throughput | Layer 1 throughput ceiling | Higher transaction density via batching |
| User confirmation time | Base-chain confirmation delays | Faster application-level confirmations |
Common mistakes
- Choosing the rollup type before defining the threat model. Fix: write your withdrawal, censorship, and finality requirements first, then select optimistic or zk.
- Ignoring bridge risk. Fix: keep bridge contracts minimal, audit them separately, and add pause controls plus monitoring.
- Underestimating fee economics. Fix: simulate real traffic, sequencer costs, and data-availability spend before mainnet launch.
What's next
After your first Layer 2 is live, extend it with better proof automation, cross-chain messaging, and observability for sequencer health and bridge safety.
// Related Articles
- [CHAIN]
Layer 2 vs Layer 3: $38B TVL trade-off
- [CHAIN]
Layer 2s cut crypto fees, but bridges still decide the risk
- [CHAIN]
Clarity Act edits could reshape stablecoin rules
- [CHAIN]
Four banks are building a 2027 stablecoin rival
- [CHAIN]
Stablecoin rules now define how digital dollars work
- [CHAIN]
Solana’s institutional push is getting louder