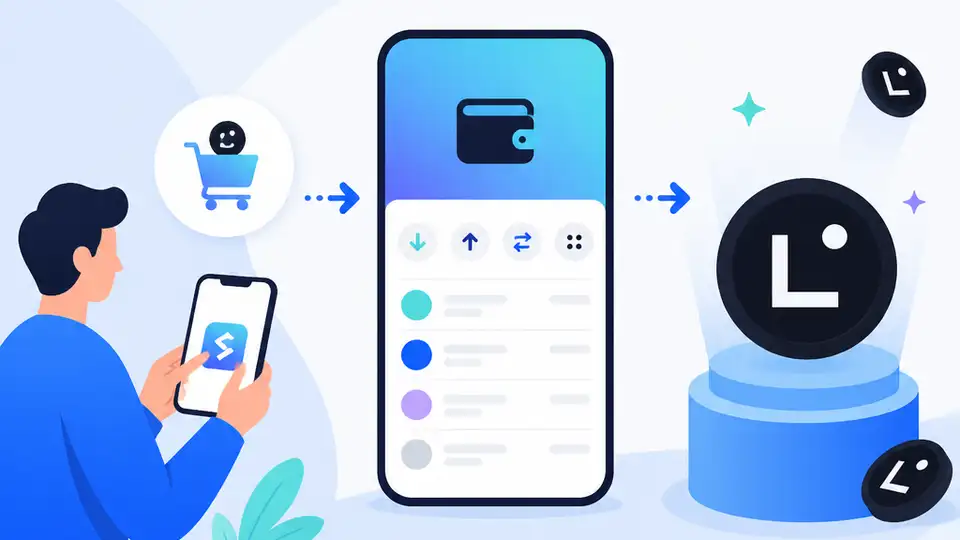
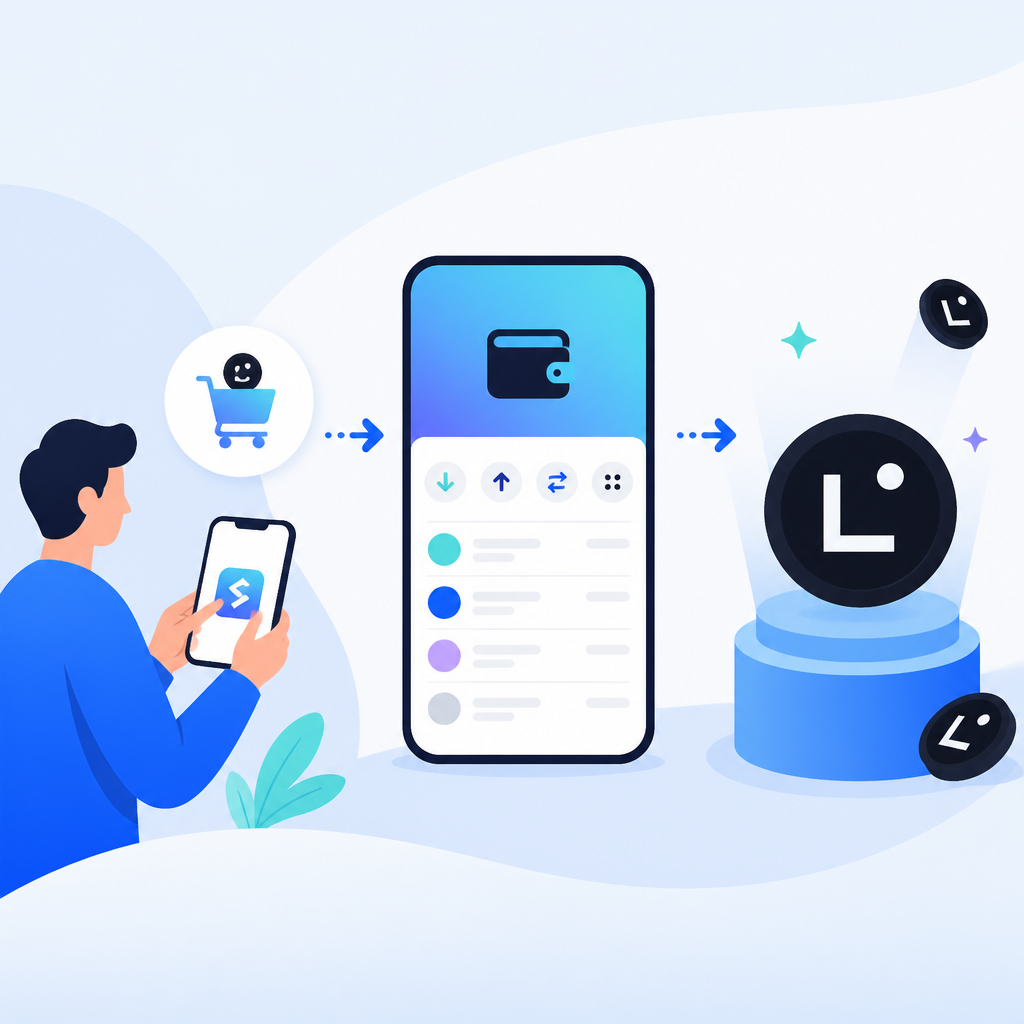
How to Buy Linea Assets on Bitget Wallet
Learn how to buy Linea assets and move them into self-custody on Bitget Wallet.
Learn how to buy Linea assets and move them into self-custody on Bitget Wallet.
If you are a developer, trader, or crypto user tracking Ethereum Layer 2 growth, this guide shows you how to prepare a wallet, bridge funds, and access Linea assets through Bitget Wallet. By the end, you will have a working flow for getting into the Linea ecosystem while keeping control of your keys.
This walkthrough uses the Bitget Wallet product page and developer docs, plus the Linea network itself, so you can follow a practical path from setup to first transaction. First mentions: Bitget Wallet, Bitget Wallet crypto news, and Linea.
Before you start
Get the latest AI news in your inbox
Weekly picks of model releases, tools, and deep dives — no spam, unsubscribe anytime.
No spam. Unsubscribe at any time.
- Bitget Wallet installed on iOS, Android, or Chrome extension.
- A funded wallet with ETH on Ethereum mainnet for gas and bridging.
- A small test amount, such as 0.01 ETH or less, for your first transfer.
- Basic familiarity with self-custody and seed phrase security.
- Optional: a Bitget Wallet account for syncing across devices.
- Optional: access to the Bitget Wallet developer documentation and API Key Portal if you are building a workflow.
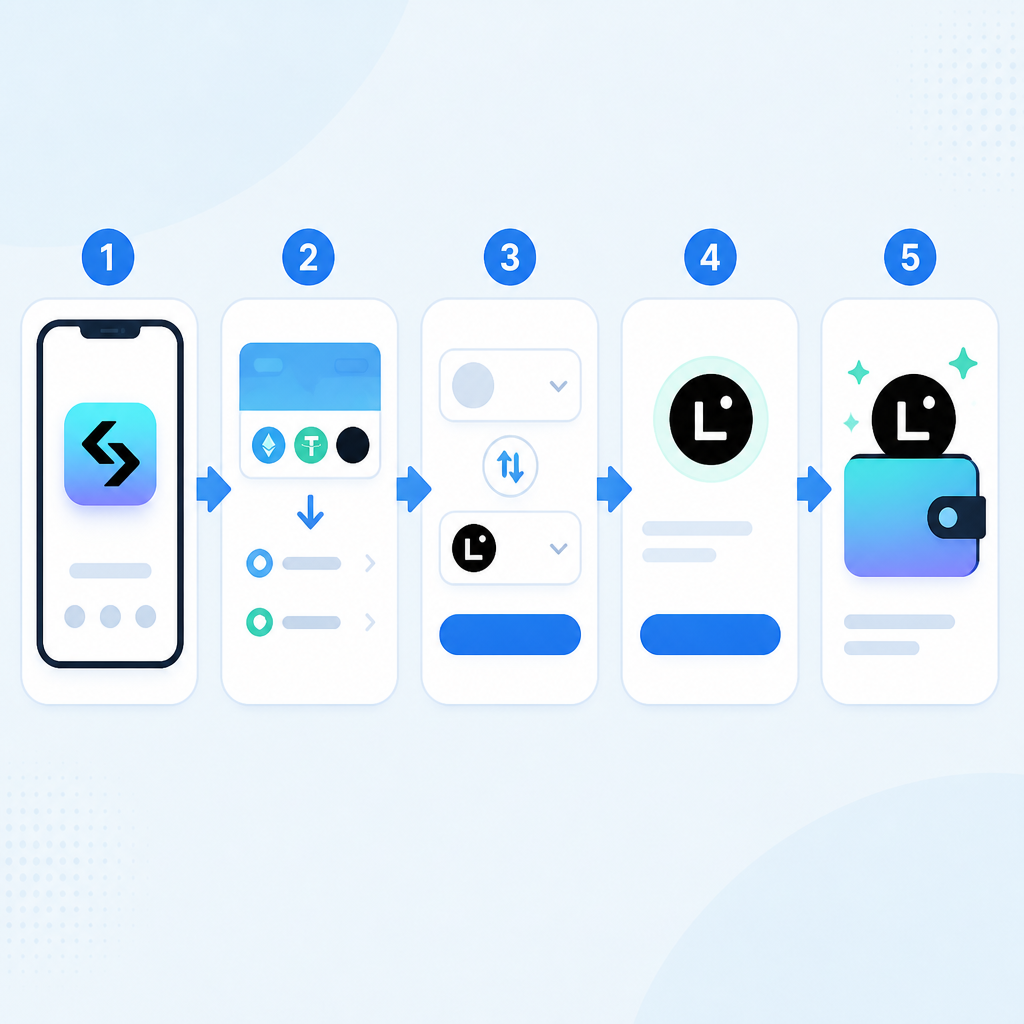
Step 1: Install Bitget Wallet and secure the seed phrase
Goal: create a self-custody wallet that can hold assets across Ethereum and Linea without relying on a custodial exchange.
Open the official Bitget Wallet download page, install the app or browser extension, then create a new wallet and write down the recovery phrase offline. Set a strong app password and enable any available device security features before moving funds.
Verification: you should see your wallet home screen, a visible wallet address, and a backup reminder that confirms the recovery phrase has been recorded.
Step 2: Fund Ethereum mainnet with ETH
Goal: prepare the gas you need to bridge into Linea and pay for on-chain actions.
Send a small amount of ETH to your wallet from an exchange or another wallet you control. Keep the first transfer modest so you can validate the full flow without risking a large balance.
Verification: you should see ETH confirmed in your wallet on Ethereum mainnet, with enough balance to cover both the bridge amount and network fees.
Step 3: Bridge ETH to the Linea network
Goal: move assets from Ethereum mainnet into the Linea Layer 2 environment.
In Bitget Wallet, open the bridge or swap flow and choose Ethereum as the source network and Linea as the destination network. Select ETH or another supported asset, review the estimated fees, and confirm the transaction. If the interface offers multiple routes, choose the one with the clearest network labels and the lowest total cost.
1. Open Bitget Wallet
2. Select Bridge or Swap
3. Set From: Ethereum
4. Set To: Linea
5. Choose ETH amount
6. Confirm the transaction
Verification: you should see a completed bridge status and the same asset balance appear on the Linea network in your wallet.
Step 4: Swap into Linea ecosystem tokens
Goal: convert bridged assets into tokens used by Linea dApps, DeFi pools, or trading pairs.
Use the wallet’s swap interface or a connected Linea DEX to trade part of your bridged ETH into the token you want. Start with a small swap, confirm token contract details, and review slippage before signing. This keeps the first trade simple and reduces the chance of a bad route or unsupported asset.
Verification: you should see the new token in your wallet balance and a successful transaction record on Linea.
Step 5: Connect to a Linea dApp and confirm usability
Goal: prove that your wallet can interact with the broader Linea ecosystem, not just hold assets.
Open a Linea dApp such as a DEX, lending market, or liquidity tool, then connect Bitget Wallet and approve the network switch if prompted. Perform one low-risk action, such as viewing a pool, checking a position screen, or making a tiny deposit, so you can validate app compatibility.
Verification: you should see your wallet connected inside the dApp and the transaction history reflected in both the dApp and your wallet.
| Metric | Before/Baseline | After/Result |
|---|---|---|
| Network access | Ethereum mainnet only | Ethereum plus Linea in one wallet |
| Asset handling | Manual chain switching and separate tools | Bridge, swap, and dApp access in one flow |
| Custody model | Exchange-held or fragmented accounts | Self-custody with one recovery phrase |
Common mistakes
- Sending funds to the wrong network. Fix: confirm the destination says Linea before approving any bridge or swap.
- Bridging too much on the first try. Fix: test with a small amount, then scale up after the transfer succeeds.
- Skipping token verification in a dApp. Fix: check the contract address and network label before swapping or approving.
What's next
Once your wallet works on Linea, explore native DEXs, lending markets, and incentive programs, then compare fees and liquidity across Layer 2 networks. If you are building for users, pair this flow with the Bitget Wallet developer docs so your app can support Linea connections cleanly.
// Related Articles
- [CHAIN]
Layer 2 picks turn Ethereum scaling into buys
- [CHAIN]
5 reasons many Ethereum L2s are losing purpose
- [CHAIN]
Kyle Samani Says Web3 Is Dead, Defi and DePIN Remain
- [CHAIN]
Why Web3 Is Wrong About Its Own Future
- [CHAIN]
5 DeFi ideas Vitalik Buterin says could cut crashes
- [CHAIN]
Why KuCoin’s Polymarket move is the right wallet strategy