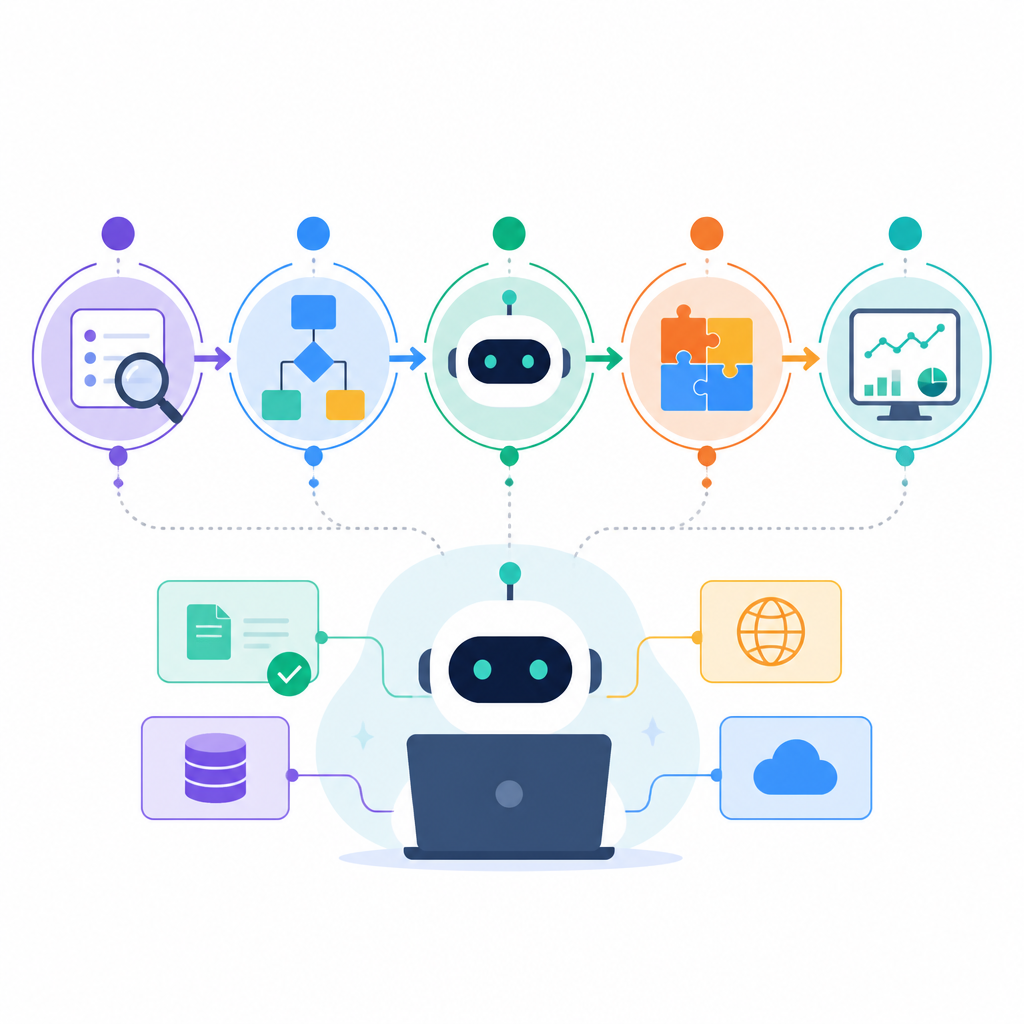
Set Up AI Agent Workflows in 5 Practical Steps
Build a reliable AI agent workflow for a solo business using five practical setup steps.

Build a reliable AI agent workflow for a solo business using five practical setup steps.
This guide is for solo entrepreneurs and small teams that want to automate repeatable work without hiring. By the end, you will have a simple AI agent workflow mapped, built, tested, and ready to expand.
The process focuses on practical setup, not theory, so you can move from scattered tasks to a working system that saves time and reduces manual follow-up.
Before you start
Get the latest AI news in your inbox
Weekly picks of model releases, tools, and deep dives — no spam, unsubscribe anytime.
No spam. Unsubscribe at any time.
- A ChatGPT account or another LLM account with API access
- A Zapier account or Make account
- An OpenAI API key or equivalent model API key
- A Google Workspace account for email, docs, and calendar
- A CRM account such as HubSpot, Airtable, or Notion
- Node 20+ only if you plan to add custom scripts or webhooks
- A test inbox and sample data for dry runs
Use the official docs for your automation platform before you begin. Start with Zapier Help or Make Help, and keep the OpenAI API docs open if your workflow uses model calls.
If you want a code-level starting point, review the OpenAI Node SDK on GitHub and the Zapier Platform on GitHub.
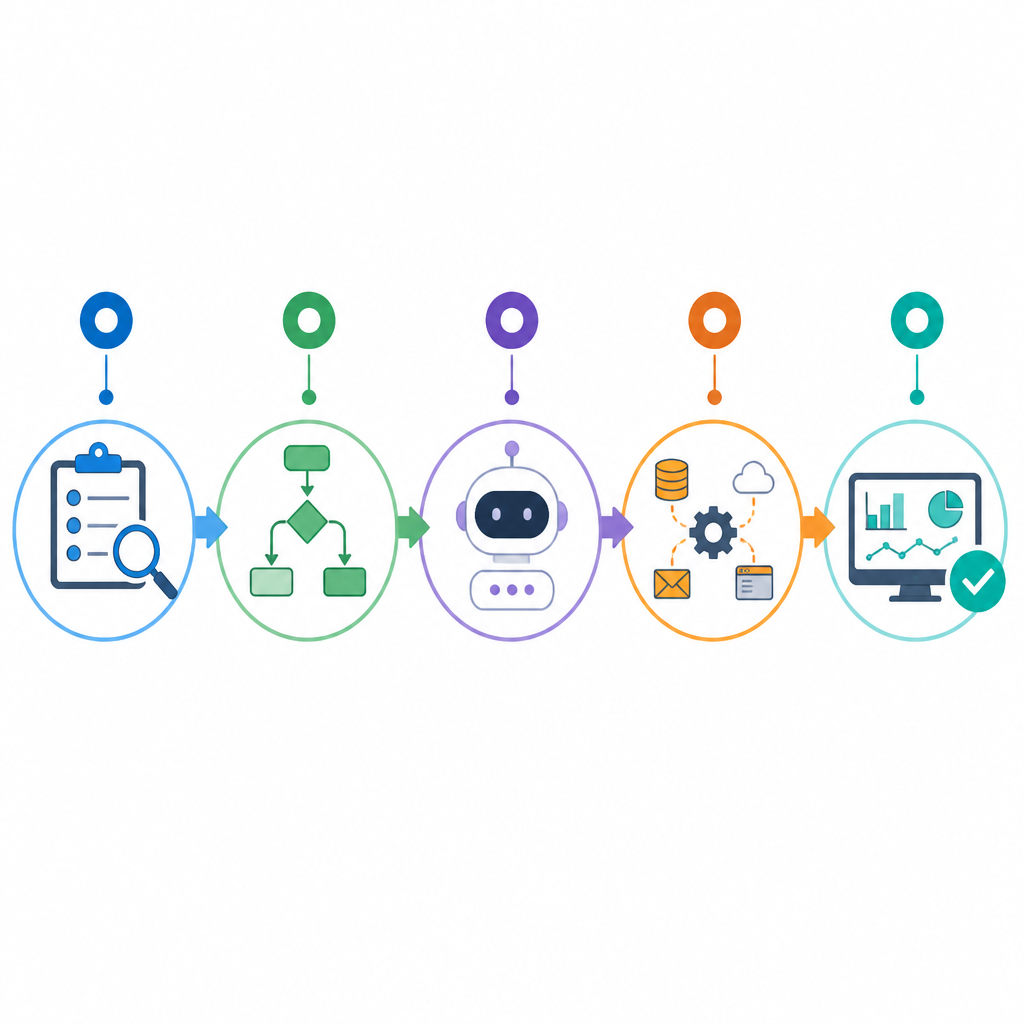
Step 1: Map one repeatable business task
Your goal is to choose one workflow that wastes time every week, such as client onboarding, lead qualification, or FAQ replies. Pick a task with a clear trigger, a few steps, and a measurable result so the first build stays manageable.
Write the process in plain language: what starts it, what information it needs, what action happens next, and what counts as done. For example, a new lead in your form can trigger a summary, a CRM record, and a follow-up email.
Verification: you should see a short workflow outline with one trigger, three to five actions, and one success condition. If you cannot describe the task in one paragraph, it is too broad for the first build.
Step 2: Choose the agent stack
Your goal is to select the tools that will power the workflow without adding unnecessary complexity. For most solo operators, that means one automation layer, one model provider, and one system of record such as a CRM or spreadsheet.
Use a no-code platform if you want speed. Use a custom script only when you need special logic, advanced routing, or tighter control over data. Keep the stack small so you can debug issues quickly.
Trigger: New form submission in Typeform
Action 1: Send prompt to OpenAI API
Action 2: Save result to Airtable
Action 3: Send Slack or email notification
Action 4: Create follow-up task in CRM
Verification: you should see each tool connected to one role. If you can explain why each tool exists in one sentence, your stack is lean enough to ship.
Step 3: Design the workflow logic
Your goal is to turn the business task into an exact sequence the agent can execute. Define the trigger, the inputs, the prompt or instruction, the output format, and the fallback path if the model response is incomplete.
Be specific about guardrails. Tell the agent what data it can use, what tone to write in, and when to stop and ask for human review. This is where most workflows become reliable instead of fragile.
Verification: you should see a workflow map with labeled inputs, outputs, and decision points. If the output can be pasted into the next app without manual cleanup, the design is strong.
Step 4: Build and test the automation
Your goal is to assemble the workflow in your chosen platform and confirm it behaves as expected with test data. Start with a dummy submission, then inspect every step to make sure the right fields move from one app to the next.
Run at least three tests: a normal case, a missing-field case, and a bad-input case. This exposes failures in prompts, field mapping, and conditional logic before real customers touch the system.
Verification: you should see the workflow complete end to end with test records, correct outputs, and no broken field mappings. If a step fails, fix it before adding another branch.
Step 5: Monitor and expand the workflow
Your goal is to keep the first workflow useful after launch and then reuse the pattern for other tasks. Review logs, note failure points, and track whether the automation actually saves time or just shifts work somewhere else.
Once the first workflow is stable, clone the pattern for another routine process such as content repurposing, lead scoring, or invoice follow-up. Small, repeated wins create the biggest efficiency gains.
Verification: you should see fewer manual touches, faster turnaround, and a clear list of next workflows to automate. If the process still needs constant intervention, tighten the logic before expanding.
| Metric | Before/Baseline | After/Result |
|---|---|---|
| Workweek reclaimed | 0% | Up to 30% |
| Manual task handling | Fully manual | Partially or fully automated |
| Workflow scalability | Limited by solo capacity | Expanded without hiring |
Common mistakes
- Trying to automate everything at once. Fix: start with one high-friction task and ship a single workflow first.
- Using vague prompts. Fix: specify inputs, output format, tone, and fallback rules so the agent knows exactly what to produce.
- Skipping test cases. Fix: run normal, edge, and failure tests before connecting the workflow to live data.
What's next
After your first workflow is live, look into multi-agent routing, human-in-the-loop approvals, and analytics dashboards so you can measure which automations create the most time savings.
// Related Articles
- [AGENT]
Anthropic’s Claude Tag Research turns Slack into search
- [AGENT]
This benchmark proves harness quality beats model hype in coding
- [AGENT]
GLM-5 Is Right to Kill Vibe Coding and Push Agent Engineering
- [AGENT]
Loop Engineering: Claude Code背后的新工作法
- [AGENT]
Fable 5 ban exposed a model-routing race
- [AGENT]
Myseum’s Scanon deal is a sensible bet on privacy-first moderation