Claude Design setup for synced prototypes
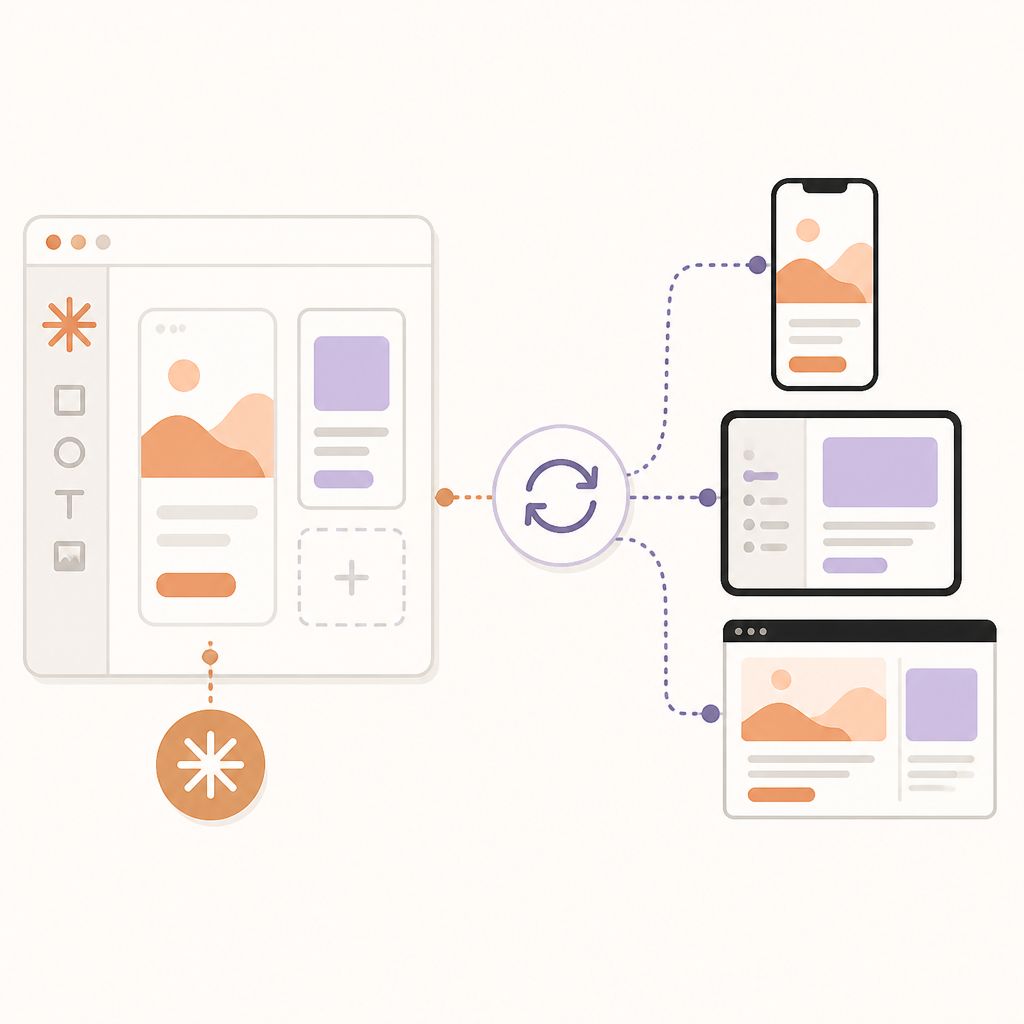
Set up Claude Design to build synced prototypes from your design system.

Set up Claude Design to build synced prototypes from your design system.
This guide is for product teams, designers, and developers who want to create UI concepts in Claude Design and hand them off cleanly to Claude Code. After following the steps, you will have a first project, synced design-system components, a usable review loop, and export paths for sharing or implementation.
Claude Design is in beta for Pro, Max, Team, and Enterprise plans, and it works on the web at claude.ai/design or in Claude Desktop. The flow is conversational: describe the UI, review the canvas, refine it, and move the result into code when it is ready.
Before you start
Get the latest AI news in your inbox
Weekly picks of model releases, tools, and deep dives — no spam, unsubscribe anytime.
No spam. Unsubscribe at any time.
- A Claude Pro, Max, Team, or Enterprise account
- Claude Design enabled for your workspace; Enterprise defaults may be off
- Claude Desktop or a modern browser for claude.ai/design
- A design system already set up in your organization
- Optional but useful: a GitHub repo, screenshots, a codebase, or design files
- Claude Code installed if you want terminal-based sync and handoff
- Node 20+ if you plan to use the Claude Code MCP commands locally
Step 1: Open Claude Design and create a project
Your first outcome is a fresh project that inherits your organization’s design system automatically, so you can start with brand colors, typography, and components already in place.

Go to claude.ai/design or open Claude Desktop and select Claude Design from the sidebar. Create a new project, then name it around the product or screen you want to build.
Verification: you should see a blank canvas on the right and a chat panel on the left, with your project ready to accept prompts.
Step 2: Sync your design system from Claude Code
Your second outcome is a live connection to the components your team already uses, which keeps Claude from inventing one-off UI patterns.
In Claude Code, run the sync command and sign in when prompted:
claude mcp add --scope user --transport http claude-design https://api.anthropic.com/v1/design/mcp
/design-login
/design-sync
If your system lives in GitHub, a local codebase, or uploaded design files, point Claude at the source you want it to use. Claude will pull in the system, compare its output against those components, and correct mismatches before you see them.
Verification: you should see the design system imported and reflected in generated components instead of generic placeholders.
Step 3: Add context and write a specific prompt
Your third outcome is a first draft that matches the screen, audience, and content you actually need, not just a generic mockup.
Attach screenshots, wireframes, a slide deck, or a repository if they help explain the target experience. Then write a prompt that includes the goal, layout, content, and audience. For example: “Build a landing page for our API product with a hero section, code examples, and pricing.”
Verification: you should see Claude ask clarifying questions only when needed, then generate a design that matches the requested structure and purpose.
Step 4: Refine the canvas with chat, comments, and direct edits
Your fourth outcome is an improved design that moves from rough draft to usable prototype through targeted iteration.
Use chat for broad changes like layout, hierarchy, or alternate directions. Use inline comments for component-level fixes such as spacing, button style, or control type. Drag, resize, and align elements directly on the canvas when you want quick visual adjustments.
Verification: you should see the canvas update after each change, with comments resolving into visible edits and the layout becoming more polished.
Step 5: Save versions, export, and hand off
Your fifth outcome is a shareable design that can move to stakeholders, another tool, or Claude Code without losing earlier work.
Ask Claude to save the current direction before trying a new one, then use the Export button to download a .zip, PDF, PPTX, or standalone HTML. You can also share a link with view-only, comment, or edit access, or send the project to tools like Canva, Miro, Replit, Vercel, or Claude Code.
Verification: you should see a saved revision plus an export or share link that another person can open.
Claude Design and Claude Code share the same usage pool, so heavy projects and many iterations can consume limits faster. If you reach your quota, wait for the reset or use usage credits if your plan supports them.
Common mistakes
- Using a vague prompt. Fix: specify the goal, audience, layout, and content so Claude has enough detail to generate the right screen.
- Skipping the design system sync. Fix: run /design-sync or import the system source so the output matches your real components.
- Relying on comments that do not appear. Fix: paste the same feedback into chat, since inline comments can occasionally disappear before Claude reads them.
What's next
Once you have a working first project, explore the Claude Design admin guide for team controls, or move deeper into Claude Code to automate handoff, import existing code, and build live prototypes from the same synced system.
// Related Articles
- [TOOLS]
RustRover 2026.1.4 is the right default IDE for Rust teams
- [TOOLS]
Rust 1.96 turns ranges into safer copies
- [TOOLS]
AI Data Operations vs MLOps: what each owns
- [TOOLS]
OpenTag turns Slack threads into actions
- [TOOLS]
GPU VRAM Needed for LLM Fine-Tuning in 2026
- [TOOLS]
Claude Sonnet 5 上手部署与评估