Evaluation Protocols for Fine-Tuned LLMs in 2026
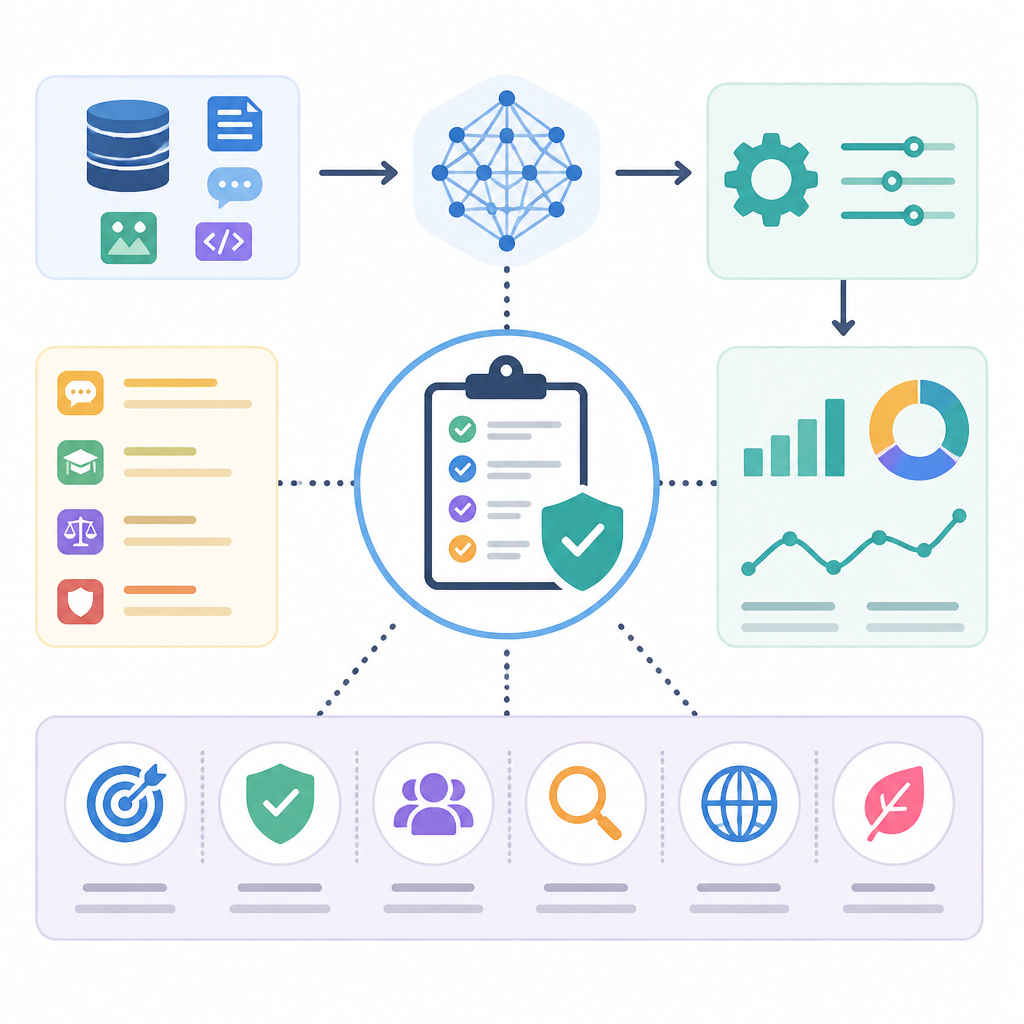
Build a layered evaluation pipeline for fine-tuned LLMs using task metrics, judges, safety checks, and human review.

Build a layered evaluation pipeline for fine-tuned LLMs using task metrics, judges, safety checks, and human review.
This guide is for ML engineers, applied researchers, and product teams shipping fine-tuned LLMs in 2026. After following it, you will have a practical evaluation protocol that goes beyond perplexity and ROUGE to cover task quality, safety, and real-world reliability.
It focuses on an end-to-end workflow you can apply to summarization, code generation, chat, and other downstream tasks. You will also know when to use automated metrics, when to bring in an LLM judge, and when to require human review.
Before you start
Get the latest AI news in your inbox
Weekly picks of model releases, tools, and deep dives — no spam, unsubscribe anytime.
No spam. Unsubscribe at any time.
- Python 3.11+
- Node 20+ if you plan to build a web dashboard or review UI
- Access to at least one fine-tuned LLM endpoint
- API key for a judge model provider or self-hosted judge model
- Annotated validation set and a separate held-out test set
- Optional but recommended: DeepEval docs at docs.deepeval.com and GitHub repo at github.com/confident-ai/deepeval
- Optional: LightEval docs at huggingface.co/docs/lighteval and GitHub repo at github.com/huggingface/lighteval
Step 1: Define your success rubric
Your first outcome is a written definition of what “good” means for your fine-tuned model. This rubric should name the behaviors you care about, such as factuality, brevity, tone, safety, code correctness, or instruction adherence.

Write the rubric before you run any tests so the evaluation reflects the product goal instead of the easiest metric to compute. For example, a support chatbot may prioritize helpfulness and safety, while a code model should prioritize execution success and syntax validity.
Success criteria example for a support model:
- Answer the user’s question directly
- Stay under 120 words unless detail is required
- Avoid unsafe or private-data content
- Use a calm, professional tone
- Escalate uncertain cases instead of inventing facts
You should see a rubric document that reviewers can apply consistently across samples. If two people can score the same response and land near the same result, your rubric is strong enough to drive the rest of the pipeline.
Step 2: Choose task-specific baseline metrics
Your second outcome is a small set of fast metrics that can screen outputs before you spend money on deeper checks. Match the metric to the task, not to the model type.
Use exact match or F1 for classification and QA, ROUGE-L or BERTScore for summarization, and Pass@k with unit tests for code generation. For open-ended chat, use a lightweight helpfulness or coherence score only as an initial filter, not as the final verdict.
You should see a baseline report that separates tasks by metric type instead of averaging everything into one score. If your code model has high similarity scores but fails unit tests, that is a sign you picked the wrong primary metric.
Step 3: Add an LLM-as-a-Judge layer
Your third outcome is a judge-based evaluation pass that scores semantic quality, not just string overlap. This layer is what closes the gap between automated metrics and human judgment for open-ended generation.
Feed the judge model the prompt, the model output, and a clear rubric with dimensions such as coherence, relevance, completeness, and safety. Prefer structured scoring, such as a 1-5 scale, so you can track trends over time and compare runs.
Use a specialized judge when possible, because generic judges can show style bias or length bias. If you are evaluating pairwise outputs, randomize the order of candidates to reduce positional bias.
You should see per-dimension judge scores and written justifications. If the judge can explain why one response is better than another, you have a usable semantic evaluation layer.
Step 4: Run safety and bias checks
Your fourth outcome is a safety report that measures harmful behavior, not just task success. A model that answers correctly but produces toxic, biased, or privacy-leaking content is not ready for production.
Test with red-team prompts, jailbreak attempts, and adversarial edge cases. Measure the rate of harmful outputs, refusal quality, and whether the model leaks private or training-derived content under pressure.
Include fairness and toxicity checks in the same evaluation pass so safety is not treated as a later-stage add-on. If your model looks strong on helpfulness but fails on harmful content, the safety score should block release.
You should see a safety dashboard with failure cases grouped by risk type. If the failure rate drops after prompt or data changes, your mitigation strategy is working.
Step 5: Validate on held-out and real-world samples
Your fifth outcome is proof that the model generalizes beyond the training distribution. A clean held-out test set is necessary, but it is not enough if all the examples look like your fine-tuning data.
Keep test data fully separate from training and validation data, then add out-of-distribution samples and real user queries that reflect production usage. This is where you catch leakage, memorization, and brittle behavior that synthetic benchmarks miss.
Sample a small set of outputs for human review and compare those ratings with your automated scores. If the correlation is weak, revise the rubric, the judge prompt, or the metric mix before you ship.
You should see a validation summary that includes both offline scores and human spot-check results. If the model performs well on held-out data and still passes human review on real prompts, your evaluation protocol is credible.
Step 6: Monitor post-deployment drift
Your sixth outcome is a monitoring loop that keeps evaluation alive after launch. Model quality can drift as user questions change, new topics appear, or the fine-tuned behavior degrades under production load.
Track your core metrics over time, log rejected responses, and feed failure cases back into your evaluation set. Re-run safety checks and judge-based scoring on fresh samples so regressions surface early.
If you see helpfulness dropping or safety incidents increasing, treat that as an evaluation failure, not just a support issue. The goal is to keep your evaluation protocol synchronized with real usage.
You should see a recurring reporting cadence with trend lines, alerts, and a growing library of failure examples. If the monitoring loop is active, your evaluation system becomes part of the product lifecycle instead of a one-time benchmark.
Common mistakes
- Using perplexity as the main success metric. Fix: reserve it for pre-training or token prediction tasks, and switch to task metrics for fine-tuned outputs.
- Letting training examples leak into the test set. Fix: enforce strict dataset separation and add out-of-distribution prompts to the final evaluation set.
- Trusting one judge score without human calibration. Fix: compare judge results with human annotations and adjust the rubric when the correlation is weak.
| Metric | Before/Baseline | After/Result |
|---|---|---|
| Evaluation scope | Perplexity or ROUGE only | Task metrics + judge + safety + human review |
| Code quality signal | Text similarity | Pass@k with unit tests |
| Safety coverage | Ad hoc manual checks | Red-team prompts and toxicity scoring |
| Production readiness | Offline benchmark only | Held-out test plus real-world validation |
What's next
Once your evaluation pipeline is stable, extend it with domain-specific benchmarks, continuous monitoring, and automated regression gates in CI so every new fine-tune is measured against the same standard.
// Related Articles
- [RSCH]
DeepSpec should be treated as a data-regeneration pipeline, not a tra…
- [RSCH]
Program-as-Weights turns prompts into reusable tools
- [RSCH]
LACUNA tests whether LLM unlearning really erases
- [RSCH]
Persistent-state AI agents open a new attack surface
- [RSCH]
Language critiques improve imitation learning
- [RSCH]
One Transformer Layer Can Carry RL Gains