Install Docker Toolbox on Windows 7+
Set up Docker Toolbox on legacy Windows and verify it with a hello-world container.

Set up Docker Toolbox on legacy Windows and verify it with a hello-world container.
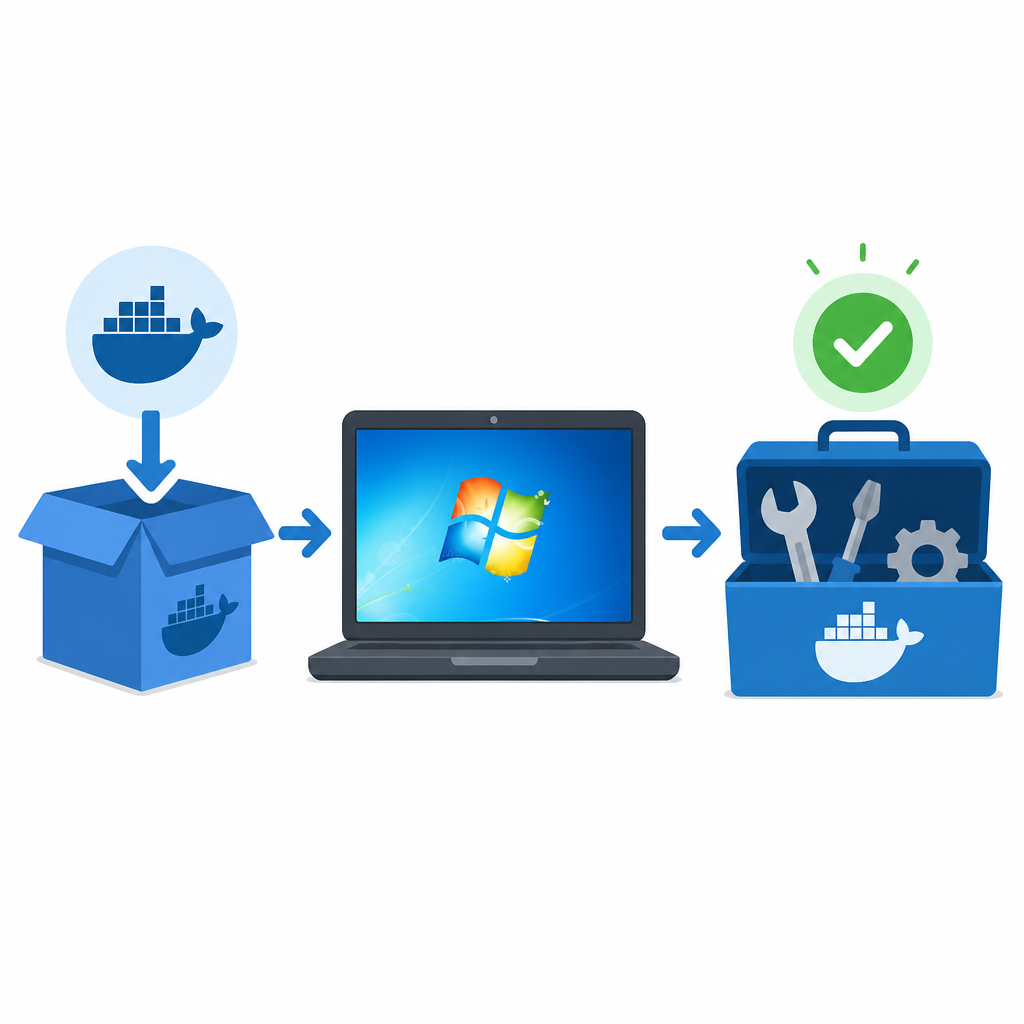
This guide is for Windows 7 and later users who need a Docker setup on machines that cannot use Docker for Windows. After you finish, you will have Docker Toolbox installed, a working Docker Machine VM, and a verified container runtime on your desktop.
You will also be ready to run Bitnami container images, such as WordPress, on the Docker environment you created.
Before you start
Get the latest AI news in your inbox
Weekly picks of model releases, tools, and deep dives — no spam, unsubscribe anytime.
No spam. Unsubscribe at any time.
- 64-bit Windows 7, Windows 8, Windows 10, or later
- Hardware-assisted virtualization enabled in BIOS or UEFI
- Administrator access on the Windows machine
- Internet access to download Docker Toolbox
- Docker Toolbox installer from the Docker website and the latest release reference in the Docker GitHub repository
- Optional: Git for Windows if you want to clone sample repositories during the last step
Step 1: Check Windows and virtualization settings
Goal: confirm your machine can run Docker Toolbox before you install anything. This avoids setup failures caused by 32-bit Windows or disabled virtualization.
On Windows 10, open Settings and go to System > About. On Windows 7 or 8, open Control Panel > System and Security > System. Confirm that the system type is 64-bit and that your Windows edition is 7 or higher.
Then check virtualization. In Task Manager, open the Performance tab and look under CPU. If you prefer the command line, open an elevated Command Prompt and run:
cd c:\
coreinfo.exe -v
You should see a 64-bit system type and virtualization marked as enabled. If virtualization is off, enable it in BIOS or UEFI before continuing.
Step 2: Download the Docker Toolbox installer
Goal: get the correct installer package for your Windows system. Docker Toolbox includes Docker Machine, Docker Engine, Docker Compose, Kitematic, Docker Quickstart Terminal, and Oracle VirtualBox.
Go to the Docker Toolbox download page and choose the Windows installer. For release history and version checks, use the Docker Toolbox GitHub repository.
Before you run the installer, close any running VirtualBox windows or VMs. If VirtualBox is already installed, decide whether you want the Toolbox installer to add its bundled copy or keep your existing one.
You should now have a downloaded .exe file ready to launch from your Downloads folder or browser download bar.
Step 3: Install Docker Toolbox components
Goal: complete the setup wizard and install the Docker runtime, VirtualBox, and supporting tools. This is the step that creates the local Docker environment on your Windows desktop.
Double-click the installer, approve the Windows security prompt, and follow the wizard. Choose an install folder, then review the component list. Keep Git for Windows selected if you plan to clone repositories later. If VirtualBox is already installed, uncheck it to avoid reinstalling the same component.
Accept the default options unless you have a specific reason to change them, then click Install. If Windows asks for permission to make changes, choose Yes. When the wizard finishes, clear View Shortcuts in File Explorer and click Finish.
You should see desktop shortcuts for Docker Quickstart Terminal, Kitematic, and Oracle VM VirtualBox.
Step 4: Start the Docker machine and run hello-world
Goal: verify that Docker can start a VM, connect to the daemon, and run a container. This is the fastest proof that your installation works end to end.
Open Docker Quickstart Terminal. The tool creates a Docker Machine VM and configures the environment variables needed for your shell session. After the terminal opens, run:
docker run hello-worldDocker should pull the image and print a success message that says the container ran correctly. If you see the hello-world output, the Docker client, engine, and VM are all working together.
You should see a confirmation message in the terminal that includes the phrase Hello from Docker!.
Step 5: Launch Bitnami WordPress in Docker
Goal: prove the installation can run a real application, not just a test container. This final step uses the Bitnami WordPress Docker image as a practical example.
Open Docker Quickstart Terminal again, then clone the Bitnami containers repository and move into the WordPress example directory:
git clone https://github.com/bitnami/containers.git
cd containers/bitnami/wordpress
docker-machine ip
docker-compose up
Use the Docker machine IP address in your browser to open the WordPress site. The compose file starts both the database and application containers and creates the required volumes.
You should see the WordPress setup page or the Bitnami WordPress landing page in your browser, which confirms the Docker environment can run a multi-container app.
Common mistakes
- Virtualization is disabled. Fix: enable hardware-assisted virtualization in BIOS or UEFI, then rerun the installer.
- VirtualBox is already running during setup. Fix: fully shut down VirtualBox before launching Docker Toolbox so the installer can register its components cleanly.
- The hello-world container fails to start. Fix: reopen Docker Quickstart Terminal so Docker Machine can reinitialize the environment, then run
docker run hello-worldagain.
If you want a quick comparison from the source, Docker Toolbox is intended for legacy Windows systems that do not meet the requirements for Docker for Windows, so the most common setup issues come from hardware support and VM conflicts.
What's next
From here, try other Bitnami containers, learn Docker Compose patterns for multi-container apps, and review Docker troubleshooting steps if you want to harden the setup for daily development work.
// Related Articles
- [TOOLS]
12 Cursor alternatives that cost less in 2026
- [TOOLS]
Docker Engine on Ubuntu belongs on the official repo path
- [TOOLS]
Rust vs Go: 2026 latency gap, decoded
- [TOOLS]
10 identity protocols let KYC stay private
- [TOOLS]
Use Consensus AI for faster literature scouting
- [TOOLS]
15 Perplexity prompts for better research decisions