Install Rust on Windows and verify rustc
A Windows 11 user hit a shell prompt error, then learned how to verify Rust correctly.
A Windows 11 user hit a shell prompt error, then learned how to verify Rust correctly.
This guide is for new Rust users on Windows 11 who installed Rust with rustup and then got stuck at the first terminal check. By the end, you will have Rust installed, Visual Studio Build Tools ready, and a clean way to confirm that rustc works in PowerShell or Command Prompt.
You will also know why the $ shown in Rust docs is only a prompt marker, not part of the command. That one detail is often the difference between a confusing error and a working setup.
Before you start
Get the latest AI news in your inbox
Weekly picks of model releases, tools, and deep dives — no spam, unsubscribe anytime.
No spam. Unsubscribe at any time.
- Windows 11 Home or Windows 10 with administrator access
- A Microsoft account or browser access to download tools
- Rustup installer from the Rust installation page and the rustup GitHub repository
- Visual Studio Build Tools 2022 or Visual Studio Community 2022 with the C++ build tools workload
- PowerShell 5.1+ or Windows Terminal
- Internet access for downloading rustup, the toolchain, and Windows build components
Step 1: Download the Rust installer
Your goal is to get the official Rust installer from the Rust project, not a third-party package manager. On Windows, rustup is the standard path because it installs the compiler, package manager, and toolchain manager in one flow.
Open the Rust installation page, then choose the Windows installer and save it locally. If you want the source and release history, the project lives in the rustup GitHub repository.
When the download finishes, you should see an installer file such as rustup-init.exe in your Downloads folder.
Step 2: Install the MSVC toolchain
Your goal is to give Rust a linker and native Windows libraries so native builds can succeed. The forum thread that inspired this guide shows that installing Rust alone is not always enough on Windows.
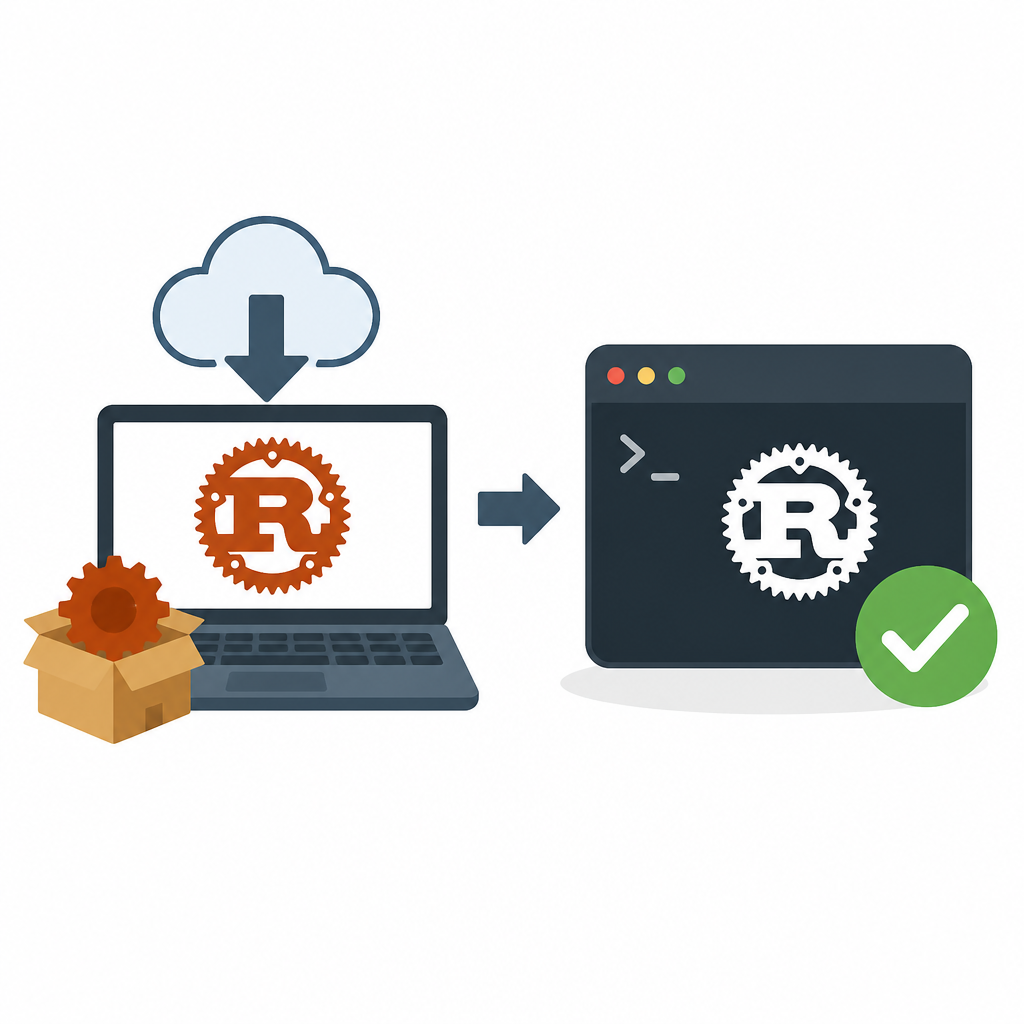
Run the installer, accept the defaults, and let it install the default host triple for Windows. If the installer prompts you to install Visual Studio components, choose the C++ build tools or Visual Studio Build Tools 2022 workload.
After the installer completes, you should see a success message that rustup and the default toolchain were installed.
Step 3: Open a fresh terminal
Your goal is to make sure the new Rust commands are available in your current shell session. Environment changes do not always appear in a window that was already open before installation.
Close any existing PowerShell, Command Prompt, or Windows Terminal tabs. Open a new PowerShell window, or use the Start menu to launch a fresh terminal session.
When the new terminal opens, you should see a normal prompt such as PS C:\Users\YourName> or C:\Users\YourName>.
Step 4: Run rustc without the prompt symbol
Your goal is to confirm that the compiler is installed and that you are typing only the command, not the documentation prompt. In Rust docs, the leading $ means “this is a terminal line,” but you should not type it.
Enter this command exactly as shown, with no dollar sign:
rustc --versionIf Rust is installed correctly, you should see a version string such as rustc 1.xx.x (....). If you typed $ rustc --version, PowerShell may complain that $ is not a recognized command, which is the same mistake the forum post described.
Step 5: Check Cargo and the active toolchain
Your goal is to verify that the rest of the Rust toolchain is available, not just the compiler. Cargo handles builds, dependencies, and project creation, so it should work right away too.
Run these commands in the same terminal:
cargo --version
rustup show
You should see a Cargo version line and a rustup summary that lists your default toolchain and installed targets. If Cargo is missing, the PATH update likely did not apply yet or the installation did not finish cleanly.
Step 6: Build a starter project
Your goal is to prove that Rust can compile a real project on your machine. A hello-world crate is the fastest end-to-end test because it exercises Cargo, the compiler, and the linker together.
Run:
cargo new hello-rust
cd hello-rust
cargo run
You should see Cargo create the project, compile it, and print Hello, world!. That confirms your Windows Rust setup is ready for the next tutorial or the Rust book.
| Metric | Before/Baseline | After/Result |
|---|---|---|
| First terminal check | $ rustc --version caused a PowerShell error | rustc --version returned the compiler version |
| Build readiness | Rust installed without Windows C++ tools | Rust plus Visual Studio Build Tools enabled native compilation |
| Project verification | No compiled project | cargo run built and ran hello-rust |
Common mistakes
- Typing the
$from the docs. Fix: enter only the command after the symbol, such asrustc --version. - Using an old terminal window. Fix: close and reopen PowerShell or Windows Terminal so PATH changes load.
- Skipping Visual Studio build tools. Fix: install the C++ workload or Build Tools 2022 if Cargo later fails during linking.
What's next
Once cargo run works, move to the Rust Book, then try Rust by Example or the playground for smaller exercises. If you want a gentler learning path, pair Rust with a basic command-line primer so terminal syntax feels less mysterious.
// Related Articles
- [TOOLS]
turbovec: Rust vector index cuts RAM to 4 GB
- [TOOLS]
Claude Code Desktop lets you ship inside one app
- [TOOLS]
Cursor’s iPhone app brings coding agents mobile
- [TOOLS]
DeepSeek’s plugin harness turns agents into tools
- [TOOLS]
Claude Code lets sessions message each other
- [TOOLS]
10 AI GitHub repos that actually save time