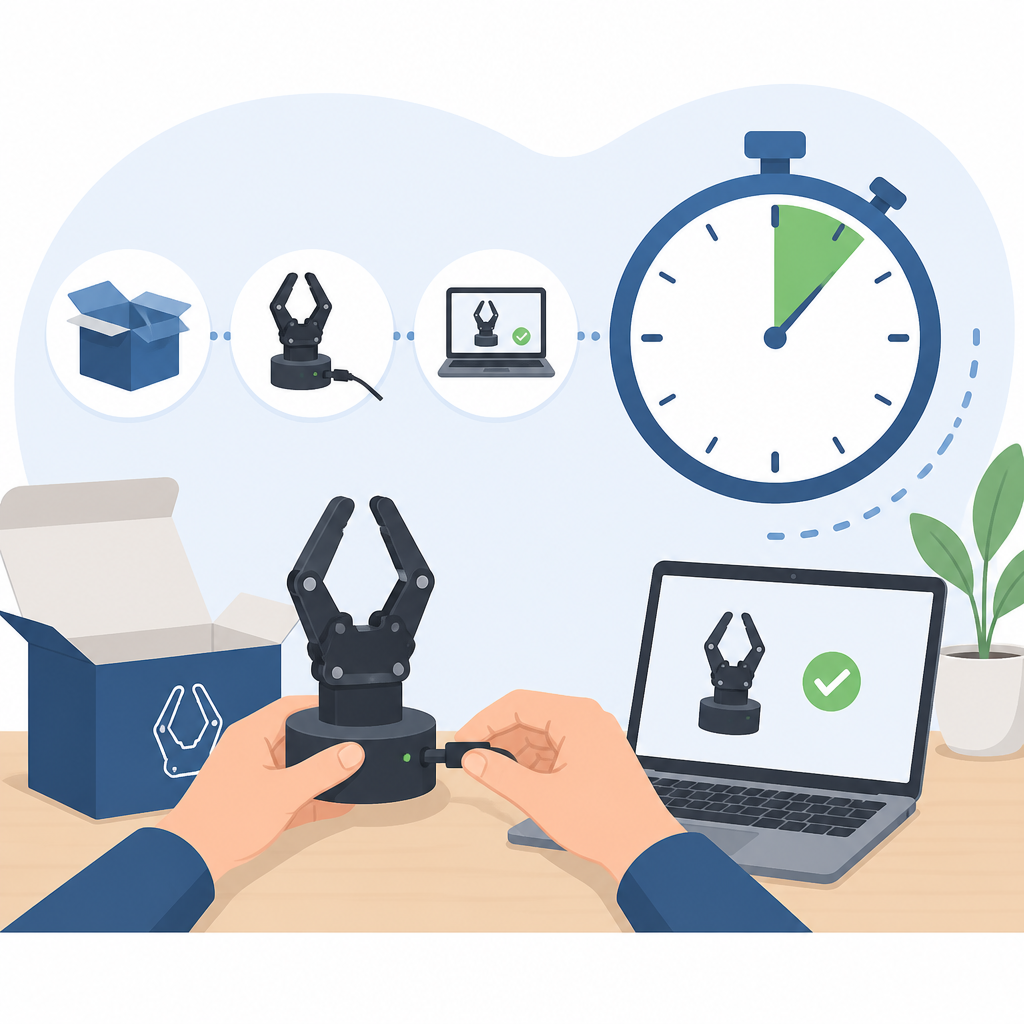
OpenClaw setup takes about 5 minutes
OpenClaw can be installed, onboarded, and chatting in about 5 minutes with a running Gateway and one API key.

OpenClaw can be installed, onboarded, and chatting in about 5 minutes.
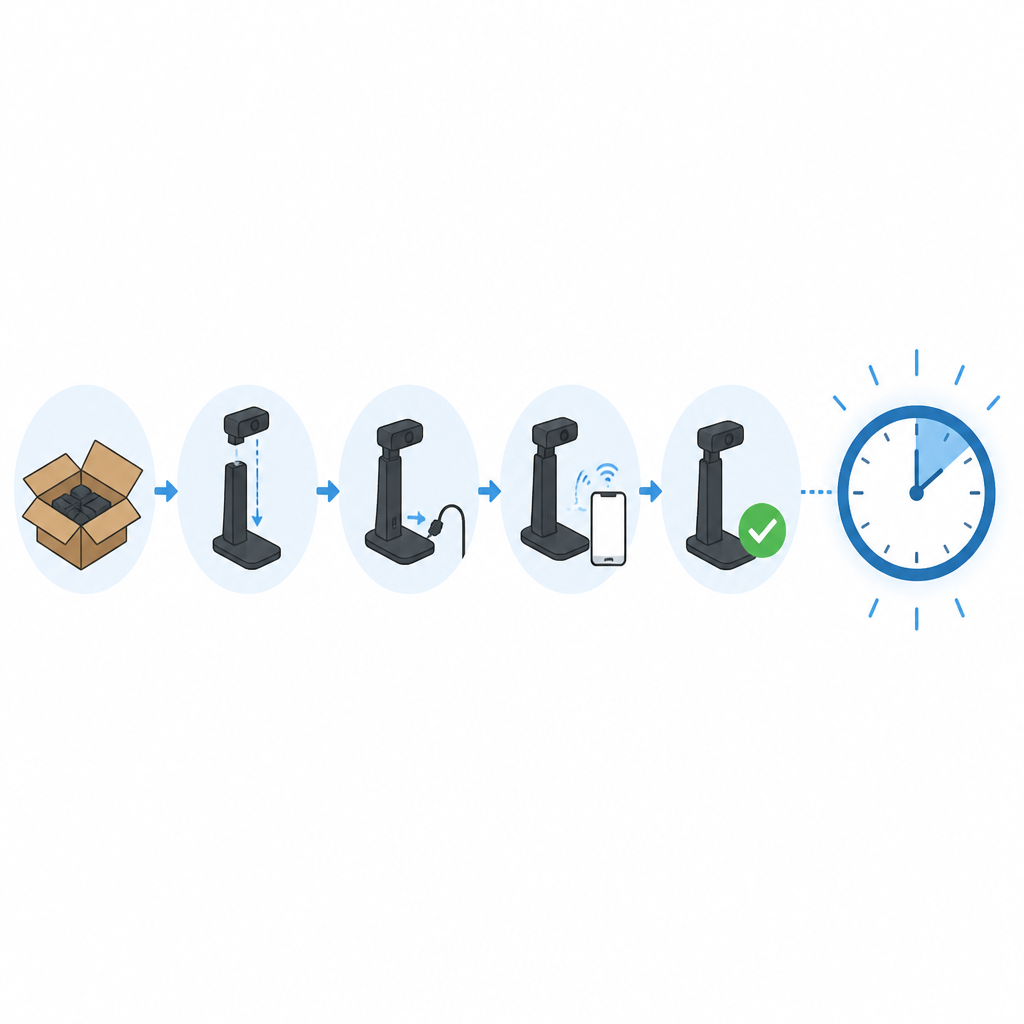
OpenClaw keeps its first-run story simple: install the CLI, run onboarding, open the dashboard, and send a message. The docs say you should end up with a running Gateway, configured auth, and a working chat session in about 5 minutes.
That is a pretty strong promise for an agent platform. Instead of making you stitch together a dozen moving parts, OpenClaw guides you through one short path that gets a local assistant online fast.
| Step | Detail | Time |
|---|---|---|
| Install | macOS/Linux via curl, Windows via PowerShell | Minutes |
| Onboarding | Choose provider, add API key, configure Gateway | About 2 minutes |
| Gateway check | Run openclaw gateway status | Instant |
| Dashboard | Open openclaw dashboard in the browser | Instant |
| First chat | Send a message in the Control UI | Instant |
What you need before you start
Get the latest AI news in your inbox
Weekly picks of model releases, tools, and deep dives — no spam, unsubscribe anytime.
No spam. Unsubscribe at any time.
The setup page asks for two things: Node.js and an API key from a model provider. The docs recommend Node 24, while Node 22.19+ is also supported. For the model side, the onboarding flow accepts providers such as Anthropic, OpenAI, and Google.
That matters because it keeps the install surface small. You do not need to pre-fill config files or hunt through a long setup wizard before you see something useful.
- Node version: 24 recommended, 22.19+ supported
- Auth requirement: one provider API key
- Windows path: native Hub app, PowerShell installer, or WSL2 Gateway
- Tip: check your version with
node --version
Windows users get a few choices, and the docs are clear that the native Windows Hub app is the easiest desktop route. If you prefer a scriptable install, the PowerShell path is there too, along with WSL2 for people who want a more Linux-like environment.
The onboarding flow does the heavy lifting
The command that matters most is openclaw onboard --install-daemon. That launches a wizard that walks through provider selection, API key entry, and Gateway configuration. According to the docs, the whole step takes about 2 minutes.
That short onboarding is the difference between a tool people try once and a tool they actually keep using. The faster it gets from install to a live chat window, the less room there is for setup fatigue.
“Install, onboard, chat with your AI assistant — all in about 5 minutes.”
That line from the OpenClaw documentation is doing a lot of work, and it is backed by the actual steps on the page. The flow is simple enough that you can verify each stage as you go: the daemon installs, the Gateway starts, and the dashboard opens in the browser.
After onboarding, the docs tell you to run openclaw gateway status. If everything is healthy, you should see the Gateway listening on port 18789. That port number is a useful anchor because it gives you a concrete signal that the backend is alive before you ever touch the UI.
The dashboard is the fastest proof that it works
Once the Gateway is up, openclaw dashboard opens the Control UI. If the page loads, the setup is basically complete. The docs then ask you to send a first message in the chat panel and wait for an AI reply.
This is a nice design choice. A lot of agent tools make you verify config, then inspect logs, then wire up a channel, then finally test a message. OpenClaw cuts straight to the part users care about: can the assistant answer?
- Gateway port: 18789
- Dashboard check: browser loads the Control UI
- First success signal: an AI reply in chat
- Fast mobile option: Telegram, using a bot token
The docs also mention that Telegram is the quickest phone-based channel to set up. That is a useful detail because it shows where the project thinks the lowest-friction path is for real users who want to talk to an assistant outside the browser.
OpenClaw is built for channels, not just a local demo
After the first chat works, the docs point you toward channels, pairing and safety, models, tools, sandbox settings, and plugins. That list says a lot about the product direction: OpenClaw is not trying to be a one-screen demo, it is trying to be the control layer for a deployed assistant.
That is also why the setup page includes an advanced path for custom Control UI builds. If you maintain a localized dashboard or a branded interface, you can point gateway.controlUi.root at your own static assets and restart the Gateway.
- Channels: Discord, Feishu, iMessage, Matrix, Microsoft Teams, Signal, Slack, Telegram, WhatsApp, Zalo, and more
- Gateway setup: auth, pairing, and safety controls
- Install overview: Docker, Nix, npm, and other install methods
- Onboarding overview: CLI and macOS app paths
There is also a practical service-account angle here. The environment variable section gives operators a way to override OPENCLAW_HOME, OPENCLAW_STATE_DIR, and OPENCLAW_CONFIG_PATH. That is the kind of detail teams need once they move past personal use and into managed deployments.
What this setup tells us about OpenClaw
OpenClaw’s getting-started page is short, but it reveals the product philosophy clearly: get the Gateway running fast, make the first chat obvious, and leave room for advanced control later. The docs are written for people who want proof early, then flexibility once the basics are in place.
If you are evaluating OpenClaw, the real question is not whether it can be installed. The interesting question is whether its channel support, safety controls, and custom UI options are enough to make it useful after day one. Based on this setup flow, the project is betting that a fast first run is the best way to earn that second look.
For developers, the next move is simple: install it, check the Gateway port, send one test message, then decide whether you want to connect a channel or customize the Control UI. That sequence tells you more than any feature list ever will.
// Related Articles
- [TOOLS]
Docker Engine on Ubuntu belongs on the official repo path
- [TOOLS]
Rust vs Go: 2026 latency gap, decoded
- [TOOLS]
10 identity protocols let KYC stay private
- [TOOLS]
Use Consensus AI for faster literature scouting
- [TOOLS]
15 Perplexity prompts for better research decisions
- [TOOLS]
Mistral AI Models 2026 for Builders