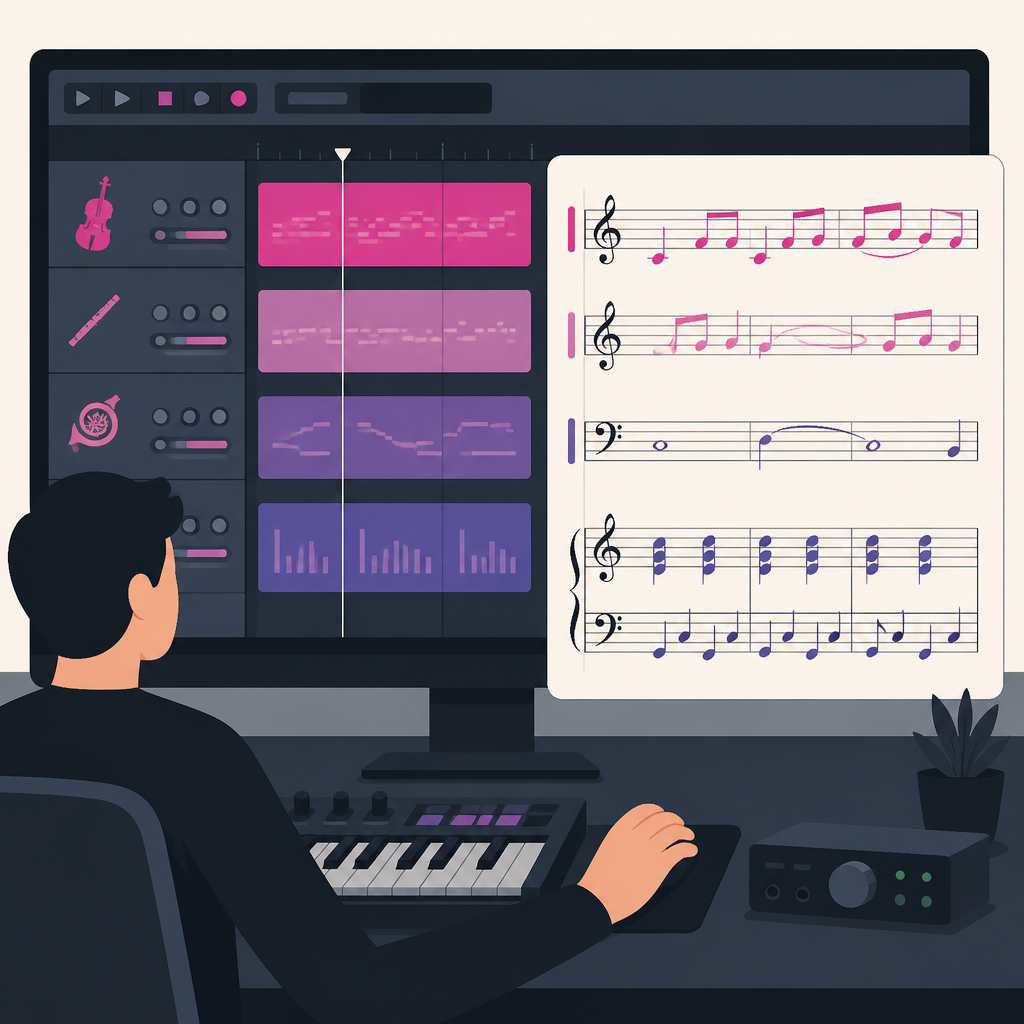
Magenta RealTime 2 lets you score in the DAW
Google’s Magenta RealTime 2 runs live in Logic and GarageBand, so I can tweak music while picture plays.
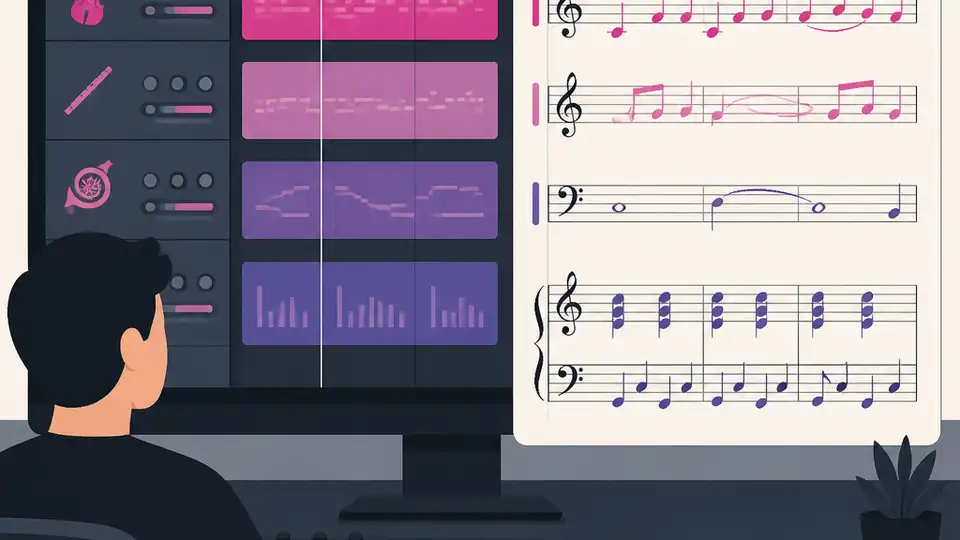
Magenta RealTime 2 lets you generate and tweak music inside your DAW.
I’ve been watching music AI tools for a while, and honestly, most of them still feel like they were built by people who don’t actually sit in a session. You type a prompt, wait, export, import, listen, hate it, and repeat. That workflow is fine if you’re making a demo for fun. It’s terrible when you’re scoring picture, because the whole point is reacting to what’s on screen right now, not ten minutes later after a render finishes.
That’s why Google’s Magenta RealTime 2 caught my attention. The interesting part isn’t just that it makes music. It’s that it runs fast enough to behave like an instrument instead of a batch job. The model is open source, the weights are on Hugging Face, and the plugin story is the part that finally makes this feel useful instead of theoretical. I’m not interested in another toy that lives in a separate tab. I want something I can keep open while the timeline is rolling.
The bit that actually matters: 200ms instead of “go make coffee”
Get the latest AI news in your inbox
Weekly picks of model releases, tools, and deep dives — no spam, unsubscribe anytime.
No spam. Unsubscribe at any time.
“The model generates 48 kHz stereo audio with a control latency of roughly 200 milliseconds on consumer Apple Silicon hardware.”
What this actually means is that I can change direction and hear the result almost immediately. Not “fast for AI.” Fast enough to stay in the creative loop. That 200ms number from the source post is the whole story. The earlier Magenta RealTime needed roughly 3 seconds of control latency, which is already a hint that it lived in the wrong mental model. Three seconds is render-land. Two hundred milliseconds is instrument-land.
I’ve run into this exact problem with other generative audio tools. They can sound decent, but they’re unusable the moment I need to react to picture. If I’m cutting a cue under dialogue, I don’t want to wait for a new pass every time I shift the emotional tone by a notch. I want to nudge the system and hear the change while the scene is still in my head.
The source also says the internal frame size dropped from 2 seconds to 40ms. That’s the kind of implementation detail that usually gets skipped over, but it’s the reason the tool feels responsive. It’s not magic. It’s just a much tighter feedback loop.
How to apply it: stop evaluating music AI like a generator and start evaluating it like a live instrument. If the tool can’t react while you’re still watching the scene, it’s not replacing anything in a real scoring workflow. It’s just another export step with a shinier UI.
Two model sizes, because not everyone owns a monster Mac
Google ships two variants: Base at 2.4 billion parameters and Small at 230 million. The Base model needs at least an M2 Max or M3 Pro, and the Small model runs on any Apple Silicon Mac, including a base MacBook Air. That matters more than the spec sheet hype because it tells me Google is trying to make this usable on actual developer hardware, not just the lab bench.
What this actually means is that the model family is split between quality and reach. The Base model is the one I’d expect to use when I care about output quality and I’ve got the machine for it. The Small model is the one I’d keep around for prototyping, testing integrations, or just checking whether a workflow idea is worth finishing.
I’ve been burned before by “accessible” AI releases that quietly require a workstation-class GPU or a cloud account with billing attached. That’s not accessibility. That’s marketing with asterisks. Here, the source is pretty direct: the Small model is around 450 MB and runs on consumer Apple Silicon. That’s a real threshold, because it puts the tool into the hands of people who already have a MacBook on their desk.
- Use Small when you’re wiring up a plugin, testing MIDI behavior, or validating latency.
- Use Base when you’re doing real scoring work and the machine can keep up.
- Keep both in your toolkit if you want a fast feedback model and a higher-quality final pass.
How to apply it: don’t pick the biggest model by reflex. Pick the model that matches the stage of the work. For live iteration, the smaller option can save you from wasting time on a setup that only proves the concept.
It’s not just prompt-in, audio-out. That’s the old trap.
The source says MRT2 accepts text prompts, short audio clips, and MIDI input at the same time. That is the part I care about most, because it means the model isn’t pretending text is enough. It can take style direction, a reference sound, and a musical gesture together, then blend them in under a second as any input changes.
“Describe a style in text, provide a reference clip, and play a MIDI melody.”
What this actually means is that the model behaves more like a collaborator than a generator. If I change the MIDI melody, the output changes. If I swap the reference clip, the texture shifts. If I rewrite the prompt, the style moves. That’s a much more useful mental model than “write a sentence and hope for the best.”
I ran into this problem years ago with text-only music tools. They were okay at broad vibes, but they fell apart the second I needed something connected to an actual composition idea. A cue is not just “dark tension.” A cue has timing, contour, and a reason it exists in the scene. MIDI input gives the system something structural to hang onto.
How to apply it: build your prompts in layers. Start with style in text, then add a reference clip if you need texture, then use MIDI for the actual musical idea. That gives you a lot more control than trying to cram everything into one sentence and hoping the model reads your mind.
The AU plugin is the whole point, not the side note
Google ships an Audio Unit plugin that runs directly inside Logic Pro, GarageBand, and other AU-compatible DAWs. That’s the biggest practical difference between MRT2 and most open source music AI tools. Most of those tools still expect you to leave the DAW, generate offline, then drag audio back in like it’s 2016 and we all enjoy busywork.
What this actually means is that the model becomes part of the session. Not a separate app. Not a browser tab. Not a cloud render queue. The composer can keep picture playing, change style settings, and hear the result in the same place where the rest of the cue lives.
I’ve worked in enough audio tools to know that context switching kills momentum. Every time you leave the DAW, you lose the thread. You stop listening to the scene and start managing files. That’s why the plugin matters more than the novelty of the model itself. The model is only useful if it fits the workflow people already trust.
- In Logic Pro, this means staying inside the session while the timeline runs.
- In GarageBand, it lowers the barrier for quick scoring experiments.
- In any AU host, it gives you a local, low-latency music source without round-tripping to a server.
How to apply it: if you’re building audio AI tools, stop starting with a web app. Start with the host where the work already happens. For music, that’s the DAW. Everything else is secondary.
Collider is the clever part for transitions, not just textures
One of the launch apps is Collider, which blends two style inputs in real time. The source frames it as generating hybrid textures between tonal registers during a session. That sounds niche until you remember what scoring actually looks like: a lot of moving between emotional states without making the cut feel obvious.
“Collider blends two style inputs in real time, generating hybrid textures between tonal registers during a session.”
What this actually means is that Collider is useful for transitions. Not just “make it sound cool,” but “help me move from tension to resolution without a hard seam.” That’s where a lot of generative music tools get clumsy. They can produce a mood, but they don’t help with the in-between stuff, which is usually the hard part.
I’ve had to fake this manually more times than I want to admit. You build one cue for tension, another for release, then spend half an hour trying to make the bridge feel like it belongs. A live style blender is a much better fit for that job than a render-and-pray workflow.
How to apply it: use style blending when you’re designing transitions, not when you’re trying to replace a finished cue. Think of it as a sketch tool for the middle of the emotional arc. That’s where it can save the most time.
Open source here actually means something, but read the license
The source says the code is under Apache 2.0, while the model weights are under CC-BY-4.0. That split matters. The code license lets developers build on the inference stack. The weight license allows commercial use with attribution. That’s not a small detail; that’s the difference between “interesting demo” and “something I can actually ship around.”
What this actually means is that Google is giving developers a real base layer to extend. The source also mentions a Python library called magenta-rt with JAX and MLX backends, plus a C++ inference engine for the low-latency path on Apple Silicon. I like that split because it tells me the team understands the difference between experimentation and runtime performance.
I’ve seen plenty of AI repos where Python does everything, including the part that should never touch Python in the first place. Then everyone acts surprised when latency gets ugly. Here, the C++ path is doing the heavy lifting where it counts, which is exactly what I’d want if I were building a plugin or a custom audio app.
- Google Magenta on GitHub is the place to inspect the broader project history.
- JAX support matters if you want to experiment with the Python-side stack.
- MLX matters if you’re targeting Apple Silicon-native workflows.
How to apply it: check the license before you start wiring your own product around a model release. I know that sounds boring. It’s also the part that decides whether your prototype can survive contact with legal and deployment reality.
The template you can copy
# Magenta RealTime 2 scoring workflow template

## Goal
Use Magenta RealTime 2 inside a DAW to sketch and refine cues while picture is playing.

## What I need
- Apple Silicon Mac
- Logic Pro, GarageBand, or another AU host
- Magenta RealTime 2 plugin or inference library
- MIDI keyboard or pad controller
- A short reference clip and a style prompt

## Session setup
1. Open the DAW and load the picture edit.
2. Insert the Magenta RealTime 2 AU plugin on an instrument track.
3. Set the model variant:
   - Small for fast testing on any Apple Silicon Mac
   - Base for higher-quality work on M2 Max / M3 Pro or better
4. Route a MIDI controller to the plugin.
5. Keep the timeline looping on the scene you are scoring.

## Prompting pattern
- Text prompt: describe genre, mood, tempo, and instrumentation
- Audio reference: add a short clip for texture or mix direction
- MIDI input: play the actual motif or harmonic idea

## Practical workflow
1. Start with a plain style prompt.
2. Add a reference clip if the texture is too generic.
3. Play a simple MIDI phrase and listen for how the model responds.
4. Change one input at a time.
5. Save versions when the cue moves in the right direction.

## When to use Collider
Use style blending when you need a transition between emotional states:
- tension to relief
- sparse to dense
- acoustic to synthetic
- intimate to wide

## What to watch for
- Latency above a few hundred milliseconds breaks the live feel
- Too much prompt complexity makes iteration slower
- Small model may be good enough for prototyping but not final cues
- License terms matter if you plan to ship a product

## Build note
If you are extending the library, keep the runtime path out of Python where possible.
Use the native inference path for low-latency playback and reserve Python for orchestration.

## Copy this into your own workflow doc
- Score inside the DAW first
- Use MIDI for structure
- Use text for style
- Use audio clips for texture
- Use live blending for transitions
- Export only after the cue works in context
The point of this template is not to make you copy Google’s setup exactly. It’s to give you a sane starting point for a live scoring workflow. If your process still depends on leaving the DAW for every iteration, you’re paying a tax that the model is specifically trying to remove.
How to apply it: paste the template into your own project notes and adapt the model choice, host, and prompt fields to your setup. If you’re building tools for other composers, use the same structure to define what “live” actually means in your product.
The original source for this breakdown is AI FILMS Studio’s Magenta RealTime 2 post. I’ve reworked the framing, examples, and template for developers, but the model details, latency numbers, license split, and app list come from that article and Google’s linked project pages.
// Related Articles
- [TOOLS]
Use Consensus AI for faster literature scouting
- [TOOLS]
15 Perplexity prompts for better research decisions
- [TOOLS]
Mistral AI Models 2026 for Builders
- [TOOLS]
RustRover 2026.2 turns Rust setup into one file
- [TOOLS]
Geekbench 7 setup for realistic CPU and GPU tests
- [TOOLS]
Spark 4.2 turns AI search into SQL