n8n MCP turns workflows into AI tool hubs
I break down n8n MCP setup, why it matters, and the exact workflow pattern you can copy into your own instance.

I turn n8n MCP setup into a copyable workflow pattern you can reuse.
I’ve been using n8n for a while now, and the part that kept annoying me was how every “smart” workflow still felt a little fake. The automation could move data around, sure, but the moment I wanted an AI agent to actually do something useful, I was back to wiring custom nodes, glue code, and one-off hacks. It worked. Barely. Then I’d ask for a small change, like “check the CRM first” or “look up the latest status before replying,” and the whole thing turned into a brittle mess.
That’s why the n8n MCP write-up on generect.com caught my eye. It’s not just another “AI + automation” post. It’s a practical walkthrough of how n8n’s MCP support changes the shape of a workflow. Instead of treating AI like a chat box bolted onto automation, it treats the workflow as a tool hub that agents can actually use. That distinction matters more than the article gives it credit for, honestly.
What I wanted, and what this guide finally makes possible, is a setup where I can expose tools once, let an MCP client talk to them, and stop rebuilding the same integration logic over and over. The source article also notes n8n’s native instance-level MCP server, available in Public Preview since April 2026, and that’s the part I think most beginners will miss if they only skim the old “MCP Server Trigger” pattern.
Stop thinking of n8n as a flowchart app
Get the latest AI news in your inbox
Weekly picks of model releases, tools, and deep dives — no spam, unsubscribe anytime.
No spam. Unsubscribe at any time.
“Updated June 2026: n8n now ships a native instance-level MCP server (Public Preview since April 2026) that lets Claude Desktop, ChatGPT, Cursor, or any MCP-compatible client build, test, and publish workflows directly inside your n8n instance — no JSON copy-paste.”
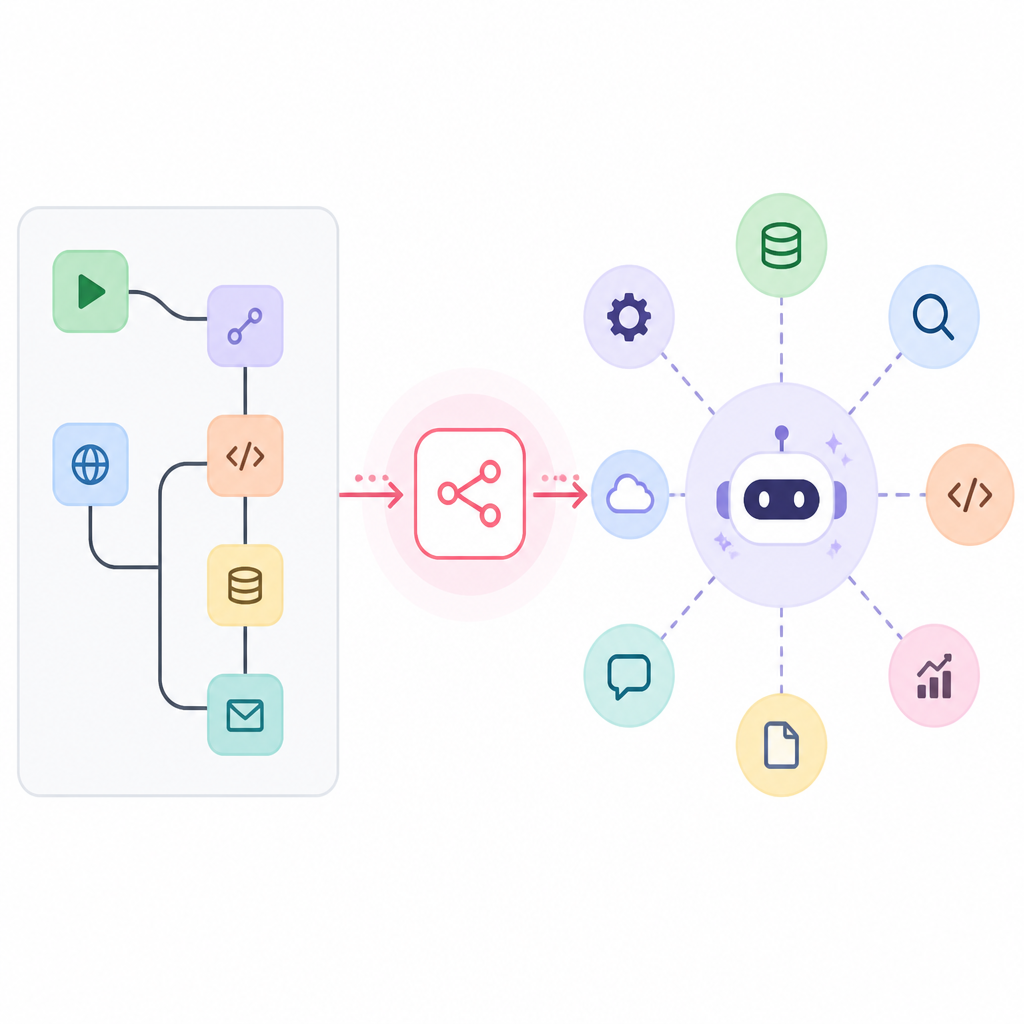
What this actually means is that n8n is no longer just a place where triggers and actions live. It becomes the surface area your AI tools can talk to directly. That’s a much better mental model than “automation builder.” I’ve seen a lot of people use n8n like a fancy Zapier clone, then get confused when AI enters the picture. MCP changes that. It gives the model a standard way to ask for tools, inspect context, and act without every integration becoming a custom project.
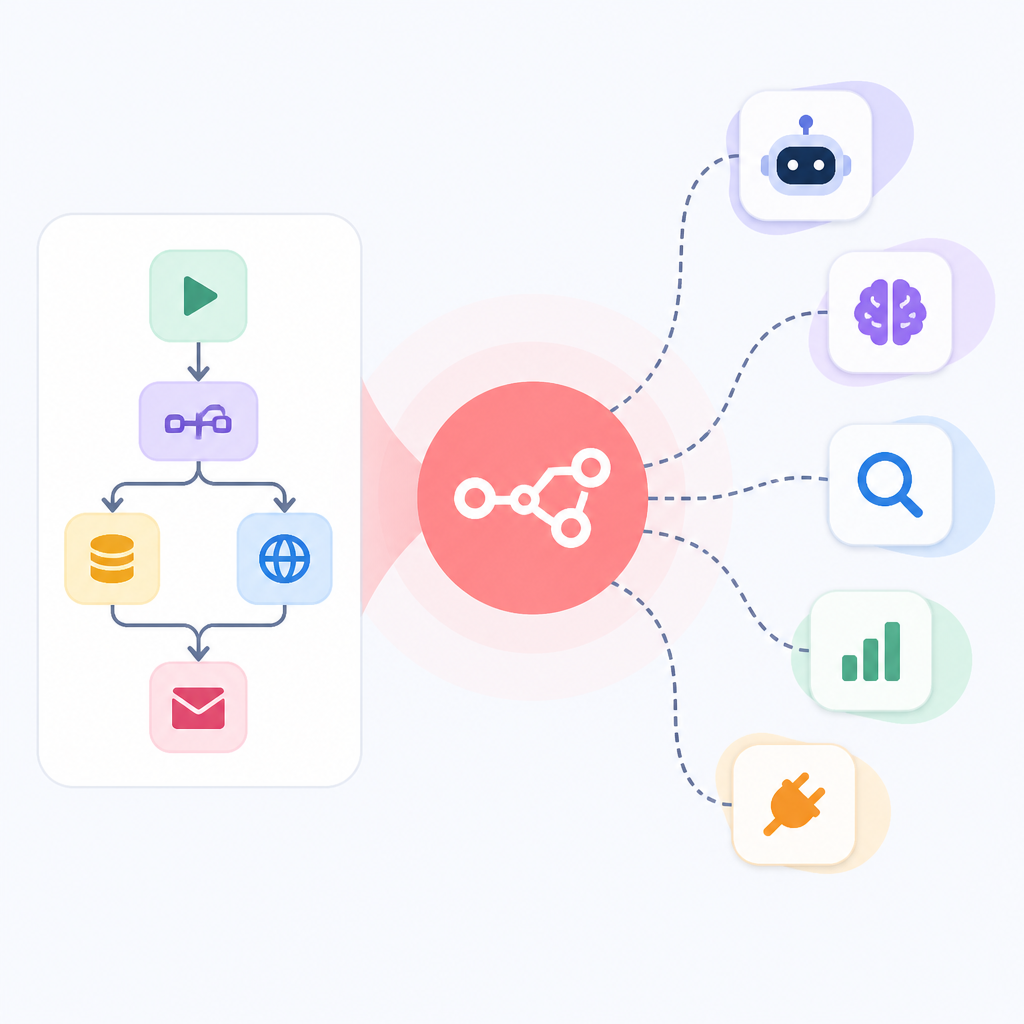
The article frames MCP as a universal charger for AI, and that metaphor is fine, but the practical takeaway is simpler: if your workflow exposes the right tools, the agent doesn’t need to know your internal wiring. It just asks for what it needs. That’s a huge reduction in glue code. If you’ve ever had to maintain a pile of brittle HTTP nodes because one API changed a field name, you already know why this matters.
I ran into this exact pain while building internal ops automations. I’d wire up a lead enrichment step, then a validation step, then a notification step. The workflow was fine until someone wanted the AI to choose between two enrichment sources based on confidence. At that point, the “simple” automation became a branching logic jungle. MCP gives you a cleaner way to present those options as tools instead of hard-coded branches.
How to apply it: stop designing every workflow as a linear pipeline. Start asking, “What tools should this agent be allowed to call?” That shift alone makes your n8n setup easier to reason about. Build with tool exposure in mind, not just step order.
- Use n8n for orchestration, not just task chaining.
- Expose reusable actions as tools an MCP client can call.
- Keep the workflow logic inside n8n instead of scattering it across external scripts.
The real difference between the old trigger node and the new server
The source article covers both the per-workflow MCP Server Trigger node and the newer instance-level server. That’s the part worth separating, because they solve different problems. The trigger node is useful when you want one workflow to behave like a tool endpoint. The instance-level server is broader. It lets MCP-compatible clients interact with the whole n8n instance, which is much closer to what people actually want when they say “connect my AI to my automations.”
What this actually means is that the old model was workflow-centric, while the new model is instance-centric. I think that’s the cleaner design. A workflow-level trigger is fine for demos. It’s also fine when you have one narrow use case. But once you start building real internal tooling, you want a central place where agents can discover capabilities without you hand-registering everything in three different places.
I’ve done the “copy the workflow JSON and paste it somewhere else” routine more times than I care to admit. It always feels like a workaround, because it is. The article’s note about no JSON copy-paste in the native server flow is not a tiny detail. It’s the point. Less manual transfer means fewer broken references, fewer credential headaches, and fewer “why is this pointing at staging?” moments.
How to apply it: use the trigger node when you’re testing a single automation as an MCP tool. Use the instance-level server when you want n8n to act like a proper automation backend for multiple AI clients. If you’re on self-hosted Community Edition, make sure you’re on v2.18.4+ as the article notes. If you’re on Cloud or Enterprise, check the current n8n hosting docs before you assume feature parity.
- Workflow trigger = one workflow exposed as a tool.
- Instance server = the whole n8n workspace becomes MCP-aware.
- Choose based on whether you need a demo or a system.
Setup is boring, which is exactly what you want
The article walks through the usual setup paths: n8n Cloud, Docker, and npm. That part is straightforward, and honestly, it should be. If your automation platform is painful to install, you’re already in trouble. The guide also calls out environment variables like N8N_EDITOR_BASE_URL for self-hosted setups, which is one of those details people ignore until OAuth redirects start failing at 11 p.m.
What this actually means is that the MCP story only works cleanly if your base n8n instance is already sane. Don’t rush the setup. Get the editor URL right. Get your credentials store sorted. Make sure the instance is reachable from the clients you care about. If you’re running locally, that might mean tunneling. If you’re running in production, it probably means tightening auth before you expose anything to a model.
I’ve seen teams jump straight to “AI agent integration” before they even had stable workflow access. That’s backwards. First you make n8n reachable and predictable. Then you layer MCP on top. Otherwise you end up debugging the plumbing instead of the automation.
How to apply it: pick one installation path and stick to it until you can open the editor, save a workflow, and run a test execution without surprises. Then add MCP. If you’re self-hosting, document the base URL, webhook URL, and auth method in the same place you keep your deployment notes. Future-you will thank you, probably while grumbling.
Useful references while you set up:
n8n docs for installation and credentials, Model Context Protocol for the protocol itself, and Anthropic’s MCP docs for the original framing. If you want to see what an MCP client looks like in practice, Claude Desktop and Cursor are both common starting points.
Build one useful workflow before you try to be clever
The Generect article uses a Gmail-to-Slack example, which is fine as a teaching pattern because it’s simple and visible. You get a trigger, you get an action, and you can immediately tell whether it worked. That’s the right size for a first pass. I’d keep the same philosophy for MCP: don’t start with a giant agent that can do everything. Start with one tool, one client, one outcome.
What this actually means is that your first MCP-backed workflow should prove one thing: the agent can ask for a tool, n8n can execute it, and the result comes back in a format you can use. That’s it. If you try to build a full autonomous assistant on day one, you’ll spend all your time debugging prompt behavior instead of the integration.
I ran into this with internal lead routing. The first version was tiny: look up a lead, validate the domain, and send a Slack note. Once that worked, it was easy to add enrichment and scoring. The first version was boring, and boring is good. Boring means repeatable.
How to apply it: create a workflow with one trigger, one data lookup, and one output. If you’re using the MCP Server Trigger node, expose the workflow as a tool and test it from an MCP client. If you’re on the instance-level server, register a simple action like “fetch lead status” or “create task.” Keep the response clean and structured.
- Pick a workflow you already understand.
- Expose one action that gives a clear result.
- Test from the client before adding more branches.
Tool design matters more than prompt magic
This is the part most beginner guides gloss over. The article talks about smarter systems and better context, but the real win comes from designing your tools well. MCP doesn’t magically make a bad workflow good. It just gives the model a standard door into your system. If the room behind the door is messy, the model still has to deal with your mess.
What this actually means is that each exposed workflow should have a narrow, obvious job. Don’t make one tool “handle all CRM tasks.” That’s how you end up with a monster endpoint that’s impossible to test. Make separate tools for lookup, update, and create. Give them names that read like verbs. Return structured data. Avoid hidden side effects unless you absolutely need them.
I’m blunt about this because I’ve cleaned up too many “AI-ready” workflows that were really just random automation steps with a chat interface pasted on top. The model can only reason well if the tool contract is clear. MCP helps, but it doesn’t rescue sloppy design.
How to apply it: write down the exact input and output for each workflow before you expose it. If a tool updates data, say so. If it only reads data, keep it read-only. If a workflow can fail because a credential is missing or a field is malformed, surface that failure early instead of swallowing it. That makes the agent much easier to debug.
Here’s the rule I use: if I can’t describe the workflow in one sentence, it’s too broad to expose as a tool. Split it. That one habit saves a lot of pain later.
Use MCP to reduce custom code, not to avoid thinking
The article makes a strong point about fewer custom connectors and faster integrations. I agree, but I’d add a warning: fewer connectors does not mean no architecture. You still need to decide what belongs in n8n, what belongs in the client, and what should stay in a normal API service. MCP sits in the middle. That’s useful, but it also means it can become the dumping ground for everything if you’re not careful.
What this actually means is that n8n MCP is best when you want a standard interface to operational tasks. It is not a replacement for your whole backend. If you already have a proper service for business logic, don’t rebuild it as a hundred-node workflow just because it feels easier in the moment. That’s how systems become unmaintainable.
I’ve had the best results treating n8n as the orchestration layer and MCP as the access layer. The logic stays where it belongs. The model gets a clean way to invoke it. That split keeps the workflow readable and the agent behavior understandable.
How to apply it: use MCP for tasks that are operational, repeatable, and easy to validate. Keep core business rules in code if they need strong tests, versioning, or complex branching. If you’re unsure, ask whether a junior teammate could safely run the workflow by reading the node labels. If not, it probably needs simplification before you expose it.
Good candidates for MCP exposure include:
- Lead lookup and enrichment
- Status checks across internal systems
- Ticket creation and routing
- Notification workflows with structured output
The template you can copy
# n8n MCP starter pattern for beginners

Use this when you want one workflow to behave like a tool an AI client can call.

## 1) Pick the workflow shape
- One job only
- One clear input
- One structured output
- No hidden side effects unless you really need them

## 2) Build the workflow in n8n
- Open your n8n instance
- Create a new workflow
- Add either:
  - `MCP Server Trigger` for a single workflow tool, or
  - the instance-level MCP server if your n8n version supports it
- Add the nodes that do the actual work
- Keep node names verb-based and specific

## 3) Define the tool contract
Input example:

{
  "email": "[email protected]"
}


Output example:

{
  "found": true,
  "name": "Sam Lee",
  "company": "Acme",
  "status": "validated"
}


## 4) Connect from an MCP client
- Use Claude Desktop, Cursor, ChatGPT, or another MCP-compatible client
- Point it at your n8n MCP endpoint
- Test with one simple request first

## 5) Keep the first tool boring
Good first tools:
- look up a record
- validate a field
- create a ticket
- send a notification

Bad first tools:
- do-everything workflows
- workflows with multiple side effects
- tools that return messy, unstructured text

## 6) Add guardrails
- Log every execution
- Fail loudly on missing credentials
- Return structured errors
- Split read and write actions into separate tools

## Copyable workflow checklist
- [ ] n8n instance reachable
- [ ] credentials configured
- [ ] editor base URL correct
- [ ] MCP endpoint exposed
- [ ] one workflow tested end-to-end
- [ ] output is structured JSON
- [ ] client can call the tool successfully

## Example tool naming
- `lookup_contact`
- `validate_domain`
- `create_support_ticket`
- `send_slack_alert`

## Example prompt to test the tool
"Look up the contact for [email protected] and return the result as structured data."

## What to do next
Once the first tool works, add one more tool that shares the same data shape.
Don’t expand until the first one is stable.
This is the part I’d actually paste into a team doc before building anything. It keeps the scope small, the tool contract obvious, and the debugging surface manageable. If you want the workflow to survive contact with real users, start here.
One last thing: the original article is written for beginners, and that’s useful, but the real value is not the beginner-friendly explanation. It’s the workflow pattern underneath it. n8n plus MCP gives you a way to expose automation as tools instead of scripts. That’s the bit worth remembering.
Source attribution: I broke this down from the original Generect guide at https://generect.com/blog/n8n-mcp/. My template and framing are original, but the setup concepts, the n8n MCP angle, and the workflow examples are derived from that source and the official docs linked above.
// Related Articles
- [TOOLS]
零基础用AI变现的实操模板
- [TOOLS]
Microsoft Copilot Studio adds governance, workflows, apps
- [TOOLS]
Power BI MCP servers bring AI to model work
- [TOOLS]
ModelOp’s 2026 MQ nod turns AI governance into ops
- [TOOLS]
Rust forum check-ins turn vague work into plans
- [TOOLS]
GKE system metrics expose TPU and HPA data