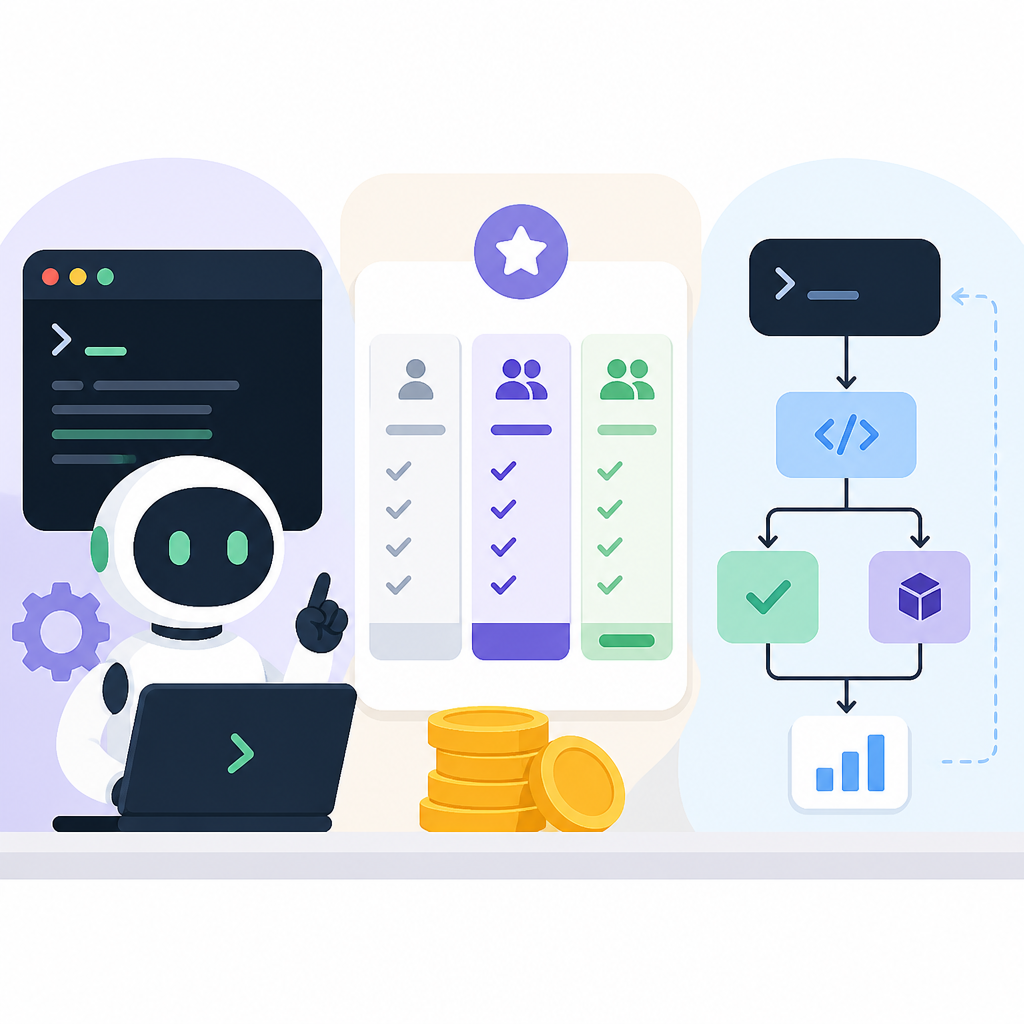
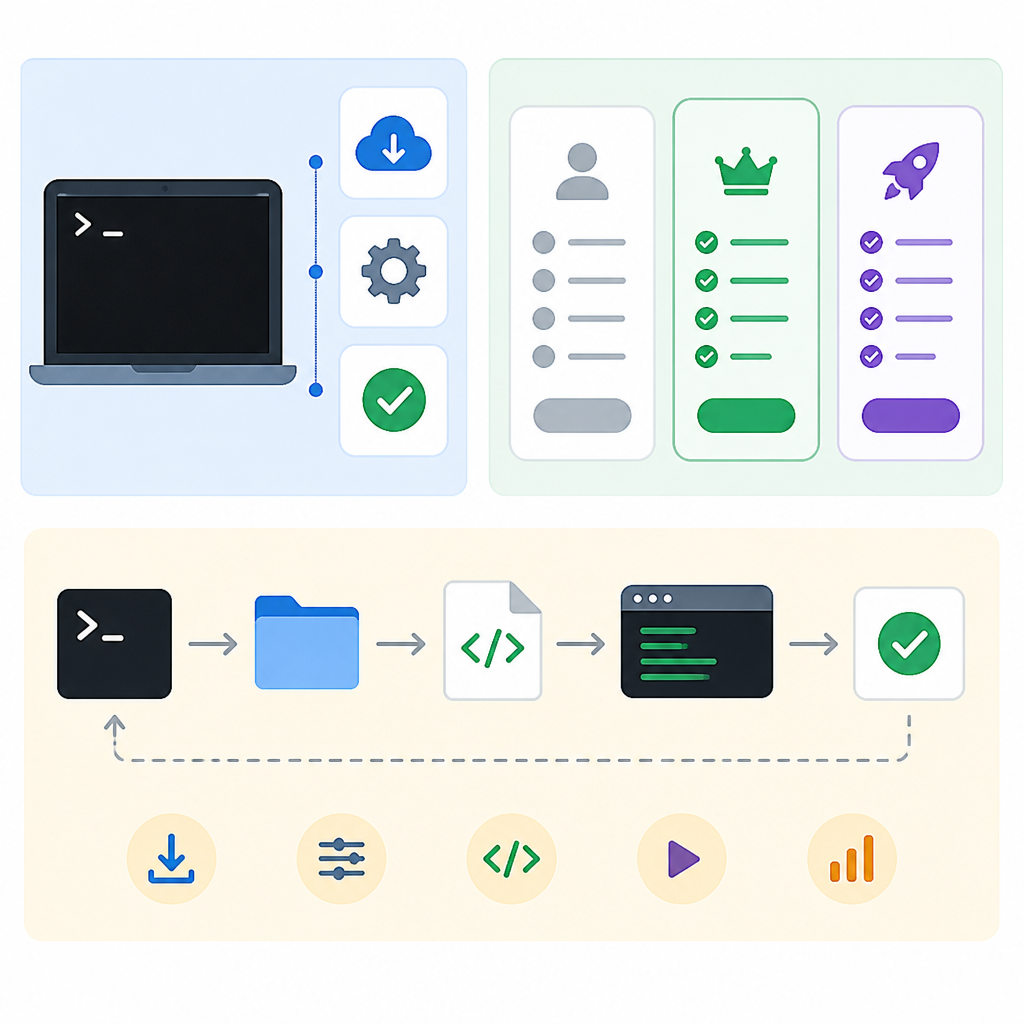
Kimi Code CLI setup, pricing, and workflow guide
Set up Kimi Code CLI, use its agent workflow, and compare its cost and limits.

Set up Kimi Code CLI, use its agent workflow, and compare its cost and limits.
This guide is for developers who want a terminal-based coding agent they can install, trust, and use on real projects. After following the steps, you will have Kimi Code CLI running locally, connected to an API source, and configured for safer day-to-day coding tasks.
You will also know when to use Plan mode, how to keep context under control, and where Kimi Code fits against other terminal agents. The instructions below use the current Moonshot docs and GitHub repo for Kimi Code, plus the official install flow and configuration model.
Before you start
Get the latest AI news in your inbox
Weekly picks of model releases, tools, and deep dives — no spam, unsubscribe anytime.
No spam. Unsubscribe at any time.
- Node.js 24.15.0+ if you want the npm install path.
- macOS, Linux, or Windows 11 with a terminal that supports a full TUI.
- Git for Windows if you plan to run Kimi Code on Windows.
- A Moonshot AI account and either a Kimi Code OAuth login or a Kimi Platform API key.
- Access to the official docs at docs.kimi.com/kimi-code and the GitHub repo at github.com/MoonshotAI/kimi-code.
- A project directory you can safely edit with an AI agent.
Step 1: Install the Kimi Code binary
Goal: get the CLI onto your machine with the official installer or the Node-based package so you can start the agent from any project folder.
Use the shell script if you want the fastest path and do not already manage Node.js. Use npm if you prefer a package-managed install and already meet the version requirement.
# macOS / Linux
curl -fsSL https://code.kimi.com/kimi-code/install.sh | bash

# Windows PowerShell
irm https://code.kimi.com/kimi-code/install.ps1 | iex

# npm path
node --version
npm install -g @moonshot-ai/kimi-code
kimi --version
You should see the kimi command available and a version string when you run kimi --version. If you used the install script, the binary should also be on your PATH.
Step 2: Connect your Moonshot account
Goal: authenticate Kimi Code so it can access a model endpoint and start sessions in your projects.
Launch the CLI inside a repository and use the built-in login flow. Moonshot supports either OAuth device-code login or a Kimi Platform API key, which is useful if your team already manages keys centrally.
cd your-project
kimi
/login
You should see a successful login state in the TUI, and subsequent sessions should start without asking you to authenticate again. If you need to clear credentials later, use /logout.
Step 3: Start a project session
Goal: open a live coding session that can inspect files, run commands, and answer questions about the codebase.
Once logged in, start from the root of the repo and ask Kimi Code to summarize the project structure. That first task helps the agent build context before it edits anything. You can also run one-off prompts without entering the full UI.
kimi -p "Describe this project's directory structure"
kimi -C
You should see the agent read files, search the repository, and return a short summary of the codebase. If the output mentions directories and key entry points, the session is working as intended.
Step 4: Configure safe agent behavior
Goal: keep the agent useful without giving it uncontrolled write access to your machine or repository.
Use Plan mode for non-trivial changes, and keep approval prompts enabled for file writes and shell commands. If you want durable team instructions, generate an AGENTS.md file with /init and commit it to the repo. That gives every future session the same project briefing.
Shift-Tab   # toggle Plan mode
/init       # generate AGENTS.md
/compact    # compress a long session
/fork       # branch the session
You should see the agent outline its intended steps before making edits when Plan mode is on. After /init, the repo should contain an AGENTS.md file that captures the project-specific guidance.
Step 5: Tune context and provider settings
Goal: keep long tasks responsive and make Kimi Code work with the model provider your team prefers.
Kimi Code stores config and session data under ~/.kimi-code/ by default, and you can move that with KIMI_CODE_HOME if you need a custom location for CI or shared machines. The config file can also point to alternative providers, including OpenAI-compatible endpoints.
# relocate config and session storage
export KIMI_CODE_HOME=/tmp/kimi-home

# edit ~/.kimi-code/config.toml to change providers
You should see new session files in the location you chose, and the agent should continue to start normally. If you switch providers in the config, the CLI should still behave the same while using a different backend.
| Metric | Before/Baseline | After/Result |
|---|---|---|
| SWE-bench Pro | Open coding models below frontier levels | Kimi K2.6 at about 58.6% |
| Context window | Typical smaller-repo context limits | 256K tokens |
| Model scale | Standard dense model sizing | 1T parameters, about 32B active per token |
| Install friction | Older Python-based CLI needed Python 3.13 and uv | TypeScript rewrite installs with npm or a shell script |
Common mistakes
- Using YOLO mode on a real branch. Fix: keep Plan mode on until you trust the task, then approve writes one step at a time.
- Starting in a subdirectory with no repo context. Fix: launch Kimi Code from the project root so it can inspect the full tree and tools.
- Letting sessions grow forever. Fix: use
/compactwhen the conversation gets noisy, and/forkwhen you want a second approach.
- Installing with npm on an unsupported Node version. Fix: upgrade to Node.js 24.15.0 or use the official shell installer instead.
- Ignoring Windows shell requirements. Fix: install Git for Windows first so Kimi Code can use Git Bash, or set
KIMI_SHELL_PATHif needed. - Skipping project instructions. Fix: create and commit
AGENTS.mdso the agent has durable repo-specific guidance.
What's next
Once Kimi Code is installed and stable, the next step is to wire it into your team workflow with shared instructions, safer approval defaults, and a repeatable prompt pattern for bug fixes, refactors, and test-driven changes. If you want a deeper comparison, study how Kimi Code differs from Claude Code and Gemini CLI before standardizing on one agent for production use.
// Related Articles
- [AGENT]
Kimi K3 Benchmark Evaluation Guide for Coding Agents
- [AGENT]
Meta’s first paid model proves AI coding is now a price war
- [AGENT]
Claude Code turns chat into terminal work
- [AGENT]
Decentralized AI compliance should be built into agent rails, not bol…
- [AGENT]
Open-Source AI Agent Frameworks Compared
- [AGENT]
Codex Micro turns a macropad into an AI control deck